If you print for a living, you’ve seen this request: “Can you make it 300 DPI?”
Sometimes it means “make it sharper.” Sometimes it means “make it bigger.” Often it means “I don’t know why the print proof looks bad.”
Here is the clean way to think about it for high-quality printing:
- Pixels are what you actually have.
- PPI is how tightly you pack those pixels onto paper.
- DPI is what the printer lays down with ink or toner.
Read on to learn more about what actually drives print sharpness, why changing “DPI” in metadata rarely fixes anything, and how to create print-ready files in LetsEnhance.
Key takeaways
- Pixels define real detail. If the pixel dimensions are too small, the print will look soft, no matter what DPI number is typed into a dialog.
- PPI is the planning number for print sharpness. It connects pixel dimensions to inches or centimeters.
- DPI is a printer spec, not an image-quality fix. People use it as shorthand, but the file itself doesn't gain detail from “changing DPI.”
- If you need a larger print at the same sharpness, you must add pixels. That means upscaling.
- LetsEnhance is built for print workflows: you can pick a target print size via printing presets and export a file that matches the needed pixel dimensions for a crisp result.
Difference between DPI, PPI, and pixels
Most print problems come from treating these three terms as interchangeable. They are not. Each answers a different question in the print workflow, and confusing them leads to soft prints, rejected files, and endless back-and-forth with print shops.
The easiest way to understand them is to follow the same order your image follows on its way to paper.
Pixels
Pixels are the image’s raw material. If a file is 2400 × 3000 px, that is the full supply of information you can distribute across the print. You can compress it into a smaller print for sharpness, or spread it across a larger print for size. But you cannot get more true detail from the same pixel grid without adding pixels.
This is why “just make it 300 DPI” often fails. If the file is too small for the intended print size, the printer has no additional information to reveal. The result is edges look soft, textures become blocky, and small details like hair, fabric weave, or thin lines either blur or break.
In practice, this is the moment where upscaling becomes a production requirement. You either redesign at a smaller print size, find a higher-resolution source, or upscale the image to poster size printing. In LetsEnhance, that step is handled in a print-first way: you choose the target output size and the tool produces the necessary pixel dimensions, rather than forcing you to guess how many pixels you need.
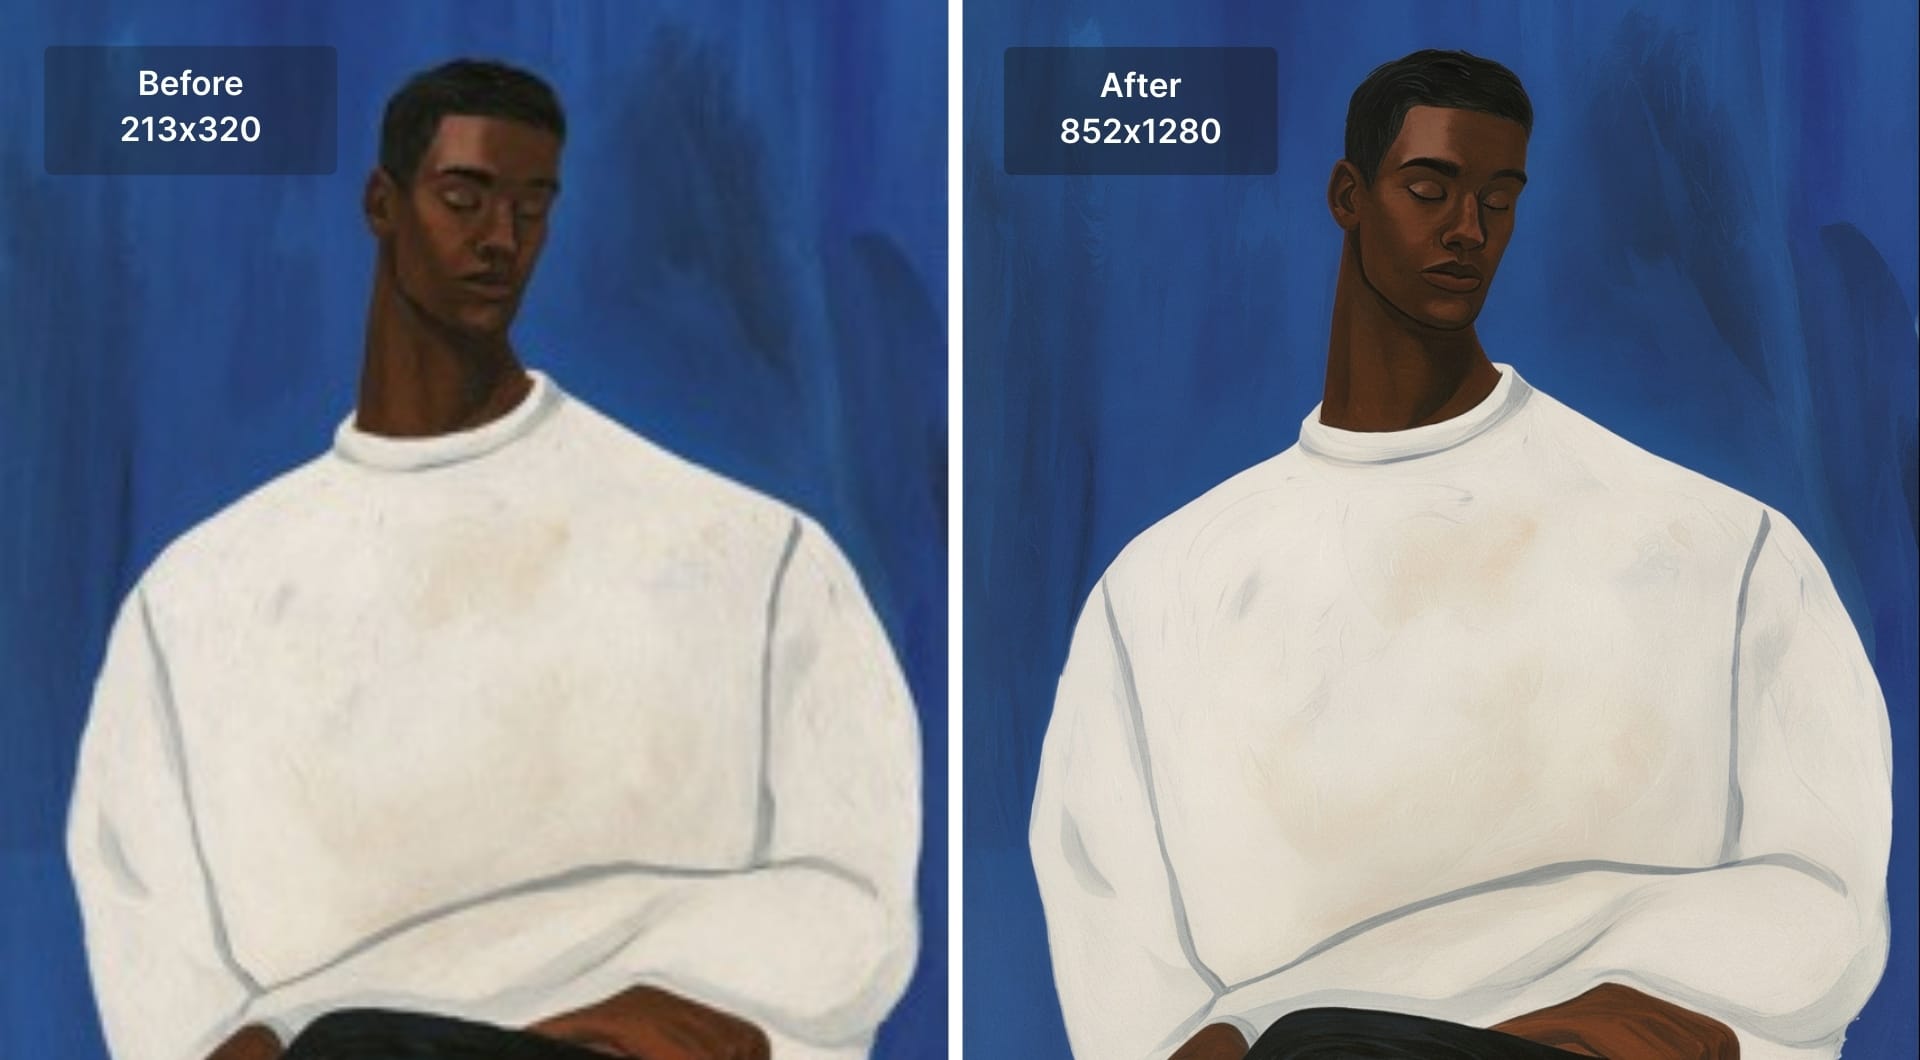
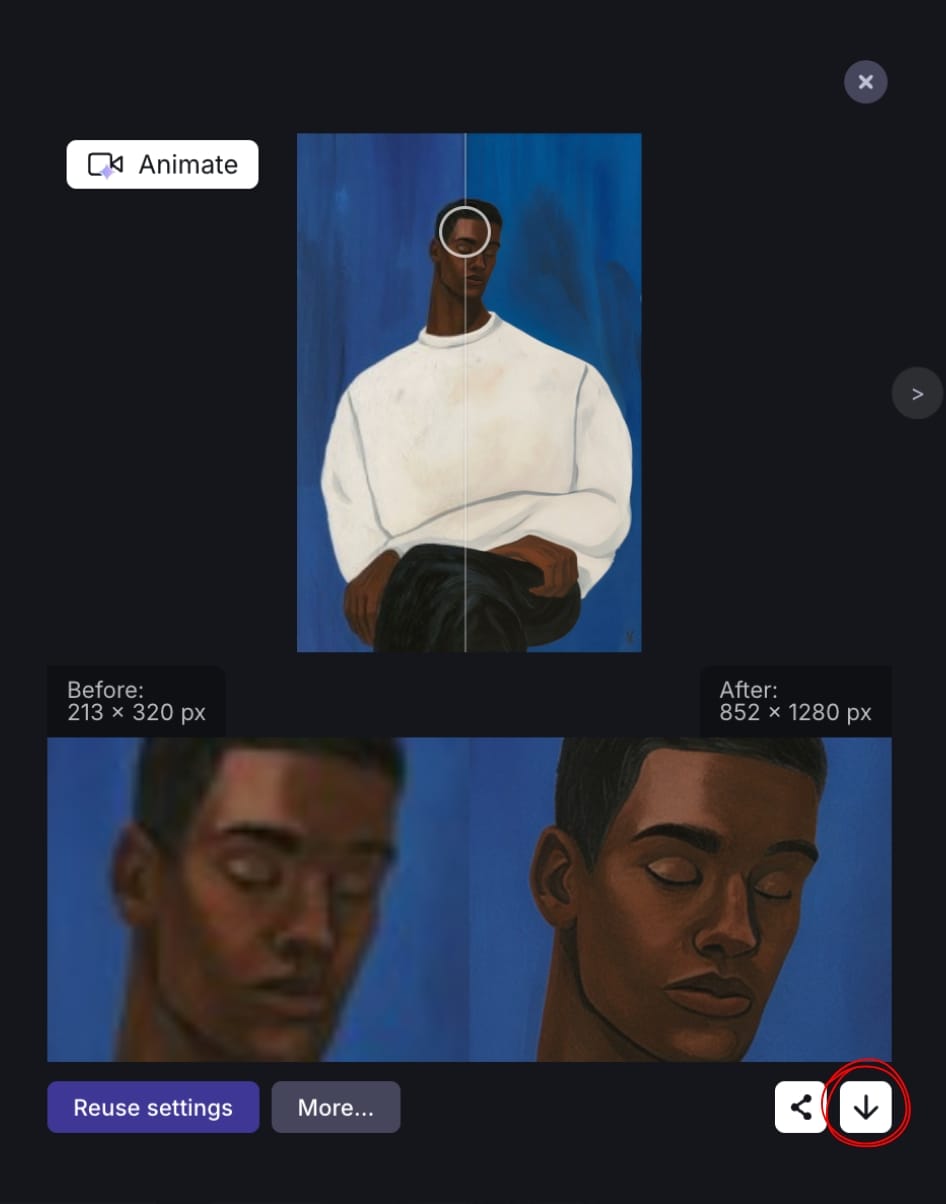
In the example below, LetsEnhance upscaled a low-quality 213x320 pixels painting to 852x1280 sharp file.
Pixels per inch (PPI)
PPI is the planning number that connects pixel dimensions to physical size. It answers the question: “How many of the image’s pixels will be used for each inch of print?”
The relationship is simple and worth remembering:
PPI = pixels ÷ inches
If you have 3000 pixels to cover 10 inches, you are printing at 300 PPI. If you stretch the same 3000 pixels across 20 inches, you drop to 150 PPI. Nothing about the file changed, only the density.
Most readers are trying to solve one of these print decisions:
- “Is my file large enough for the print size I want?”
- “Why does this image look sharp on screen but not in print?”
- “What resolution do I need for an 8×10, A4, or poster?”
PPI is where those questions get answered, because it tells you whether the image has enough pixel density for the way it will be viewed. Close-view prints (photobooks, product inserts, packaging, framed photos) typically need higher PPI than large posters viewed from a few steps away.
This is also where people waste time doing manual math. You measure the print size, multiply by a target PPI, and then discover your file is short. If you want to skip the manual part, use LetsEnhance's built-in printing presets for standard sizes such as posters, photo and international papers.
Dots per inch (DPI)
DPI describes the printer’s dot placement, not the image’s pixel structure. Inkjet and laser printers don't print “pixels.” They print dots of ink or toner, often using multiple dots to reproduce the color of a single pixel. That is why printers can advertise very high DPI values even when the incoming image is intended for 300 PPI printing.
This is the part that causes most confusion: software interfaces often label export settings as “DPI,” while users are really trying to control print size and sharpness. Changing the DPI number in a file without changing pixel dimensions usually changes only metadata. It can alter the “default” print size some programs display, but it doesn't add information to the image. If the pixel count is low, the print will still look low-detail.
For print preparation, DPI becomes relevant only after you have done the two things you can control: ensure the file has enough pixels, and ensure those pixels will be packed at an appropriate PPI for the final size. Once the file is truly print-ready, most print providers will handle the printer-side DPI behavior on their end.
The practical mental model for print
When you are preparing an image for high-quality printing, treat the terms like this:
- Pixels: The supply of detail you have.
- PPI: How densely you spend that detail on paper.
- DPI: How the printer renders what you send.
If a print looks soft, it is almost always a pixel and PPI problem, not a DPI problem.
Here's a print sizing cheat sheet that shows pixels needed for common print sizes. Use this to quickly check whether your file can support a given print size. The numbers below assume 300 PPI, which is a solid target for close-view prints.
| Print size | Target PPI | Minimum pixel dimensions |
|---|---|---|
| 4 × 6 in | 300 | 1200 × 1800 px |
| 5 × 7 in | 300 | 1500 × 2100 px |
| 8 × 10 in | 300 | 2400 × 3000 px |
| 8.5 × 11 in (Letter) | 300 | 2550 × 3300 px |
| A4 (8.27 × 11.69 in) | 300 | 2481 × 3507 px |
| 11 × 14 in | 300 | 3300 × 4200 px |
| 12 × 18 in | 300 | 3600 × 5400 px |
| 16 × 20 in | 300 | 4800 × 6000 px |
| 24 × 36 in | 300 | 7200 × 10800 px |
For posters and large-format prints that are viewed from farther away, 200 PPI is often enough. That reduces the pixel requirement by one third. If you are unsure, default to 300 PPI and use a printing preset in LetsEnhance to avoid guessing.
Prepare a print-ready file in LetsEnhance: step by step
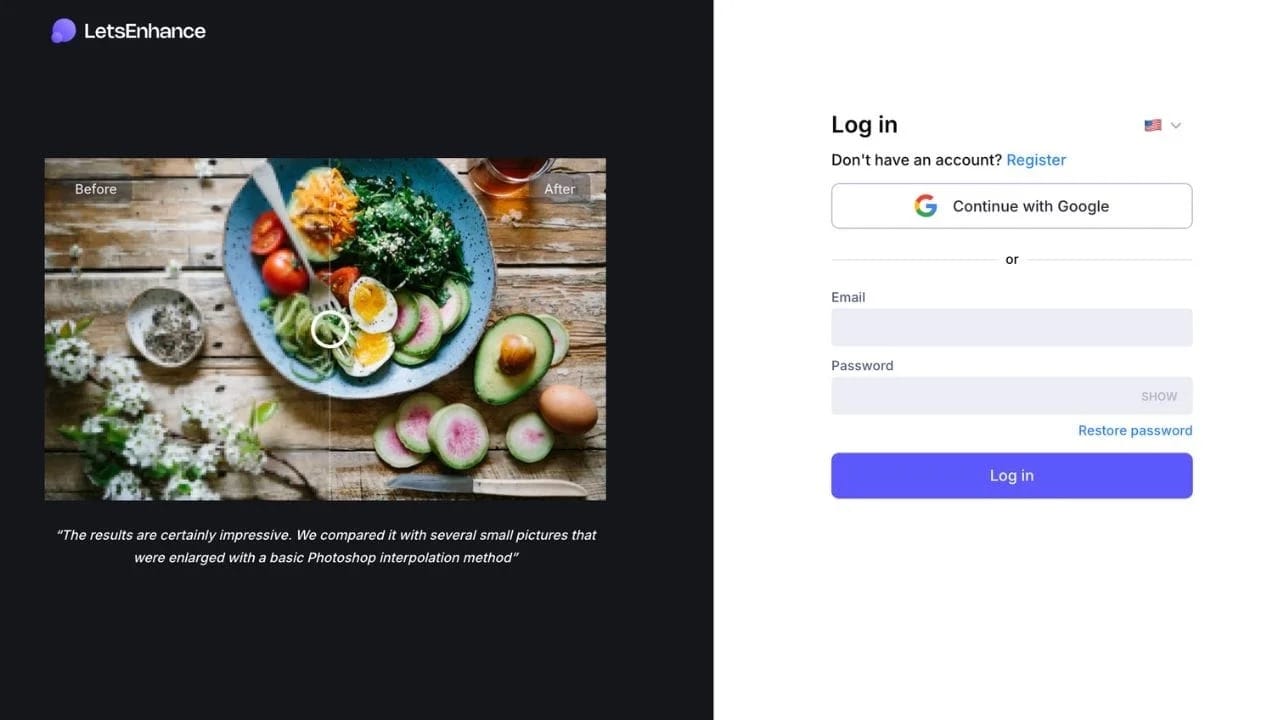
Step 1. Log in or sign up on LetsEnhance
Log in or create an account on LetsEnhance. New users get 10 free credits, so can run a few print tests and compare results before committing to a workflow.
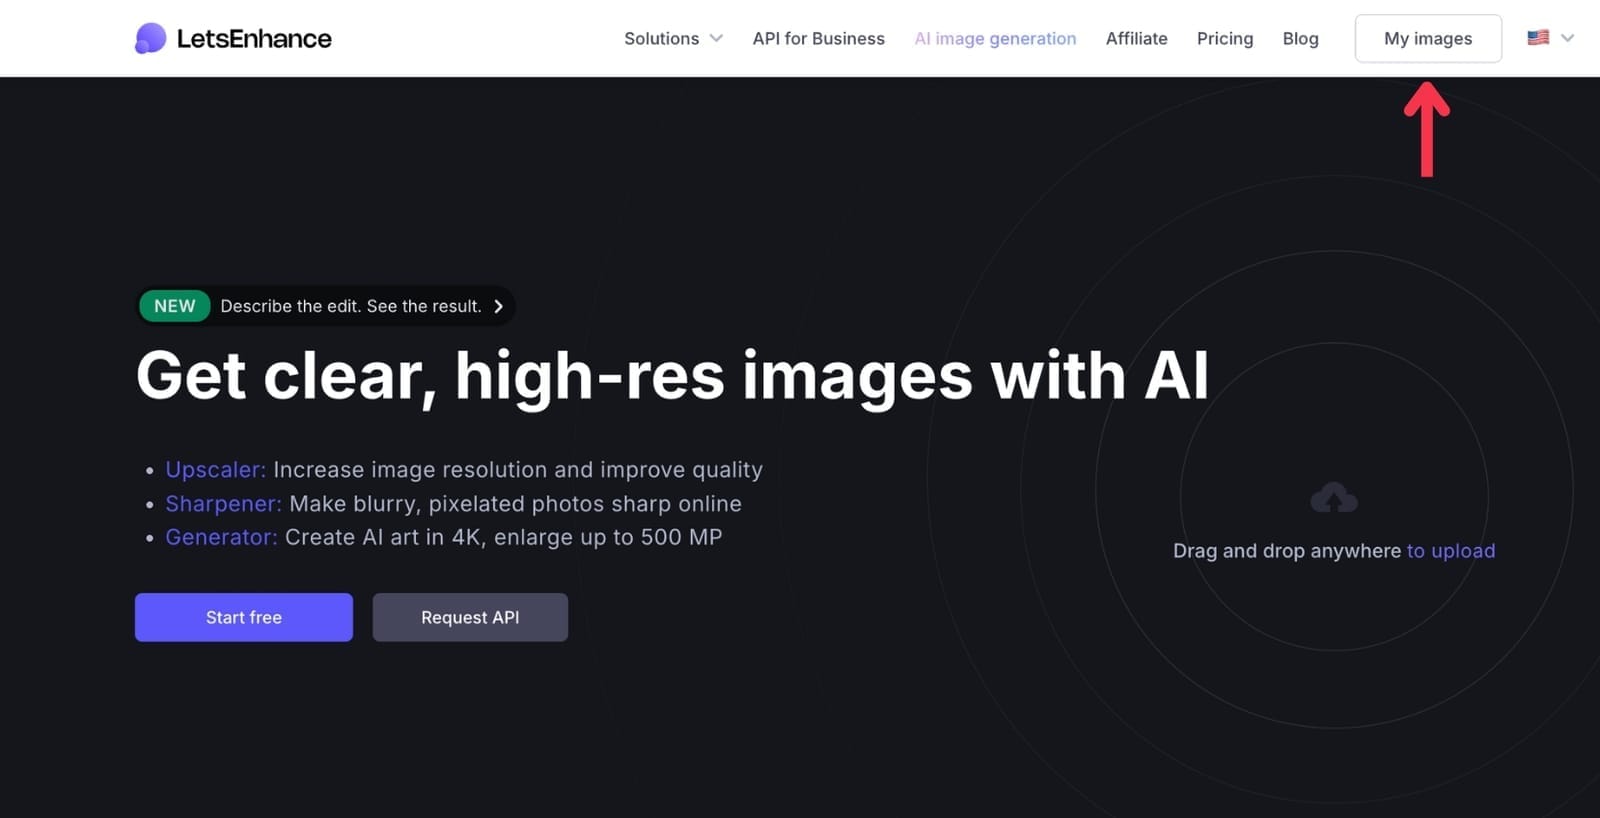
Step 2. Click “My images” to open the enhancer
Go to My images to open the Enhancer workspace. This is where you upload files and run enhancements.
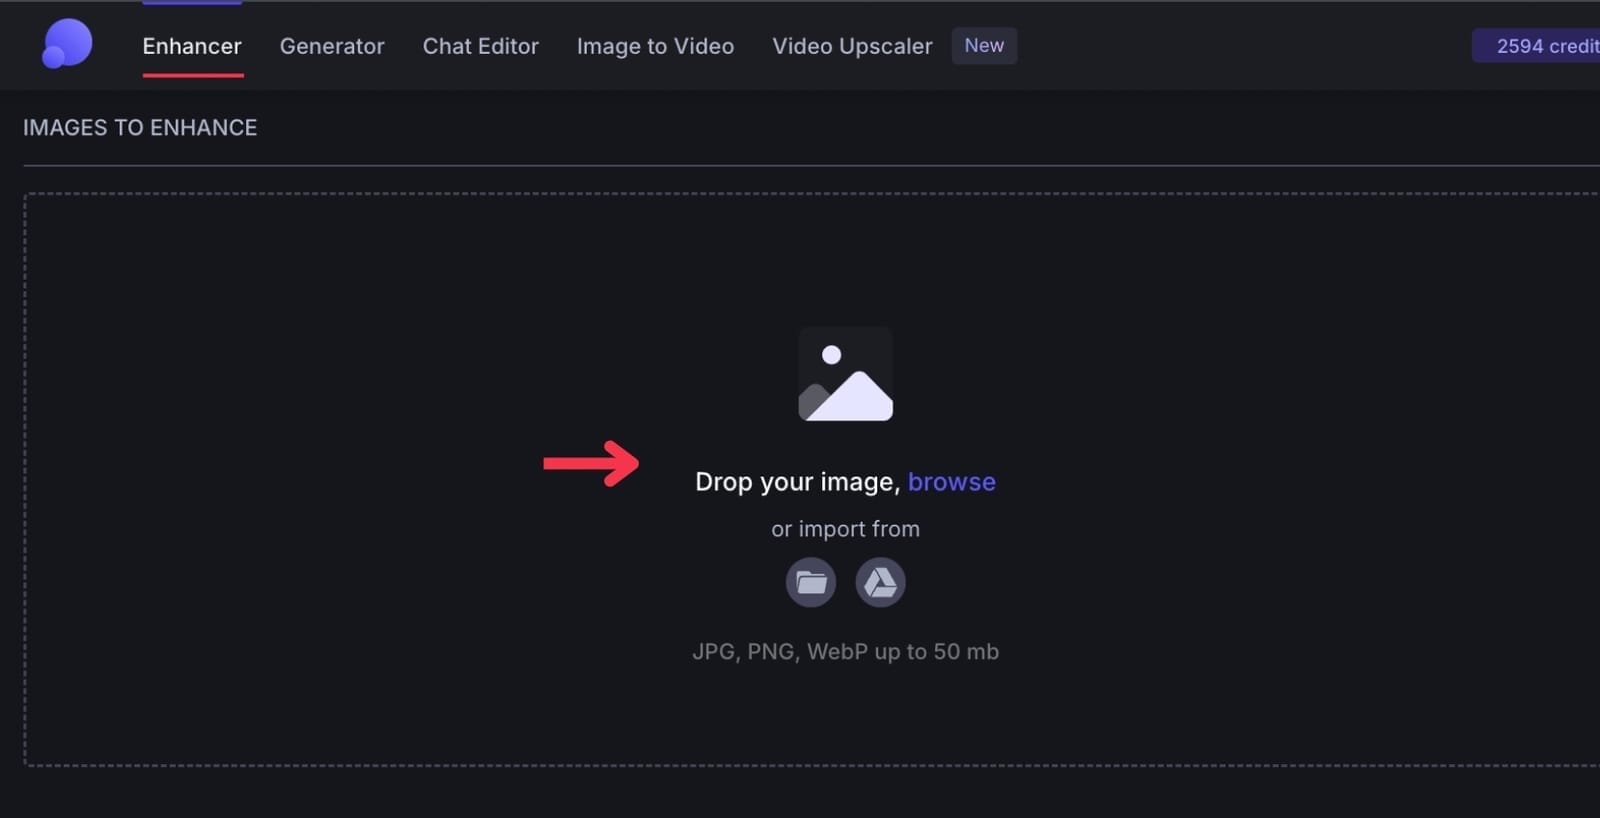
Step 3. Drop you image
Upload your low-quality file by dropping, browsing or importing from the Google Drive. It supports JPG, PNG, WebP up to 50mb.
Step 4. Choose an upscaling mode
From the right side, pick the model based on what you are printing. This is the decision that affects print quality the most. LetsEnhance offers multiple upscalers tuned for different content types.
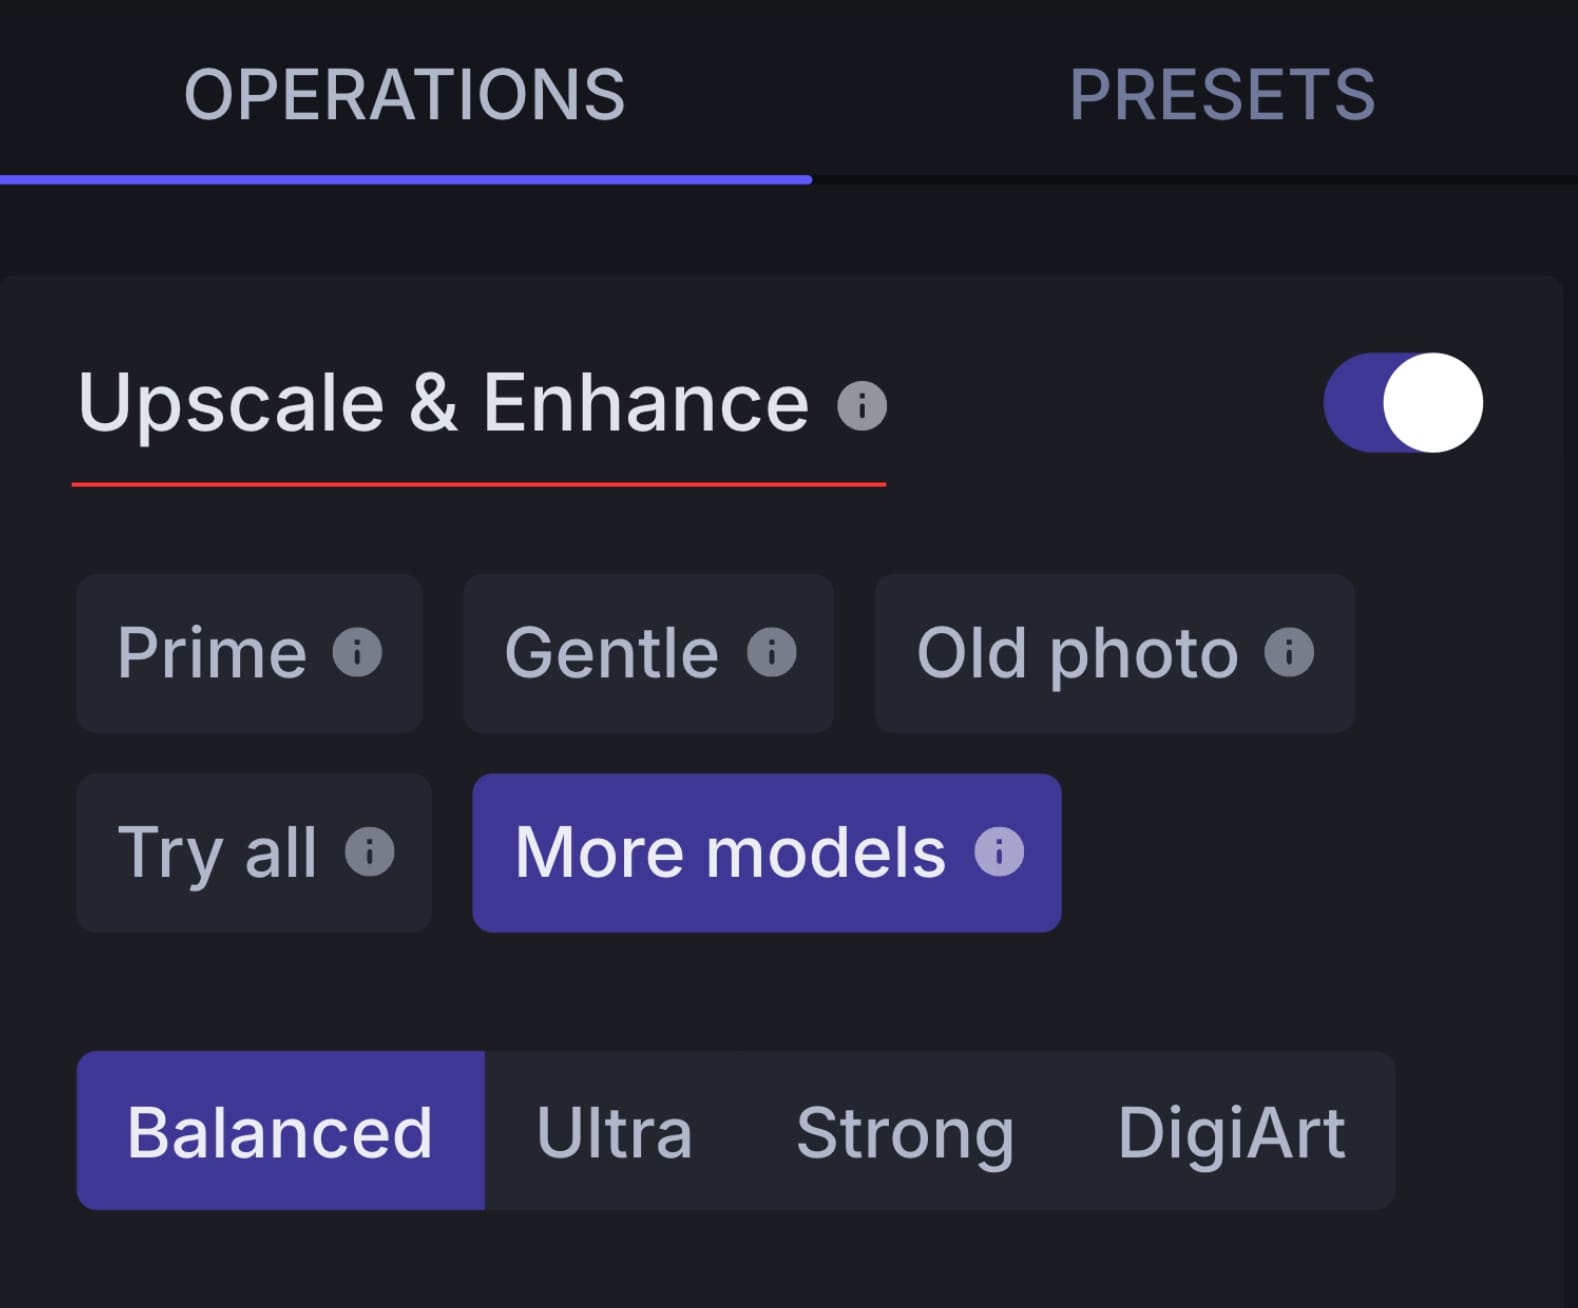
- Prime: The newest model. Use it when you want the cleanest high-resolution output with strong texture and detail retention. It's best to use for portraits, product, fashion, and food photography.
- Gentle: Minimal intervention. Use it when you must preserve original structure. Best for logos, labels, packaging layouts and texts.
- Balanced: A reliable general-purpose option. Use it for everyday photos that need a quality lift without pushing too hard on sharpness or texture.
- Strong: More aggressive reconstruction. Useful when the image is noticeably soft and needs clearer edges, but still looks like a normal photo.
- Ultra: Maximum enhancement. Use it when you need to extract the most perceived detail from a small source.
- Digital art: Built for illustrations, posters, anime, and synthetic images. Focuses on clean lines, stable edges, and smooth gradients that hold up on paper.
- Old photo: Designed for scanned prints, archives, and older images. Helps reduce typical scan noise and compression damage.
Step 4. Adjust settings
Now decide how large the file should be and how it should map to paper. You have three practical ways to do it:
- Upscale by factor: Choose upscale size from 1× to 16×.
- Set exact dimensions: Enter the target width and height if you already know what your print layout requires. Here you can also increase the DPI.
- Use printing presets: If your goal is a standard print format, choose a preset instead of doing pixel math. Printing presets are the most reliable option for production, because they align output to common print sizes without manual calculations.
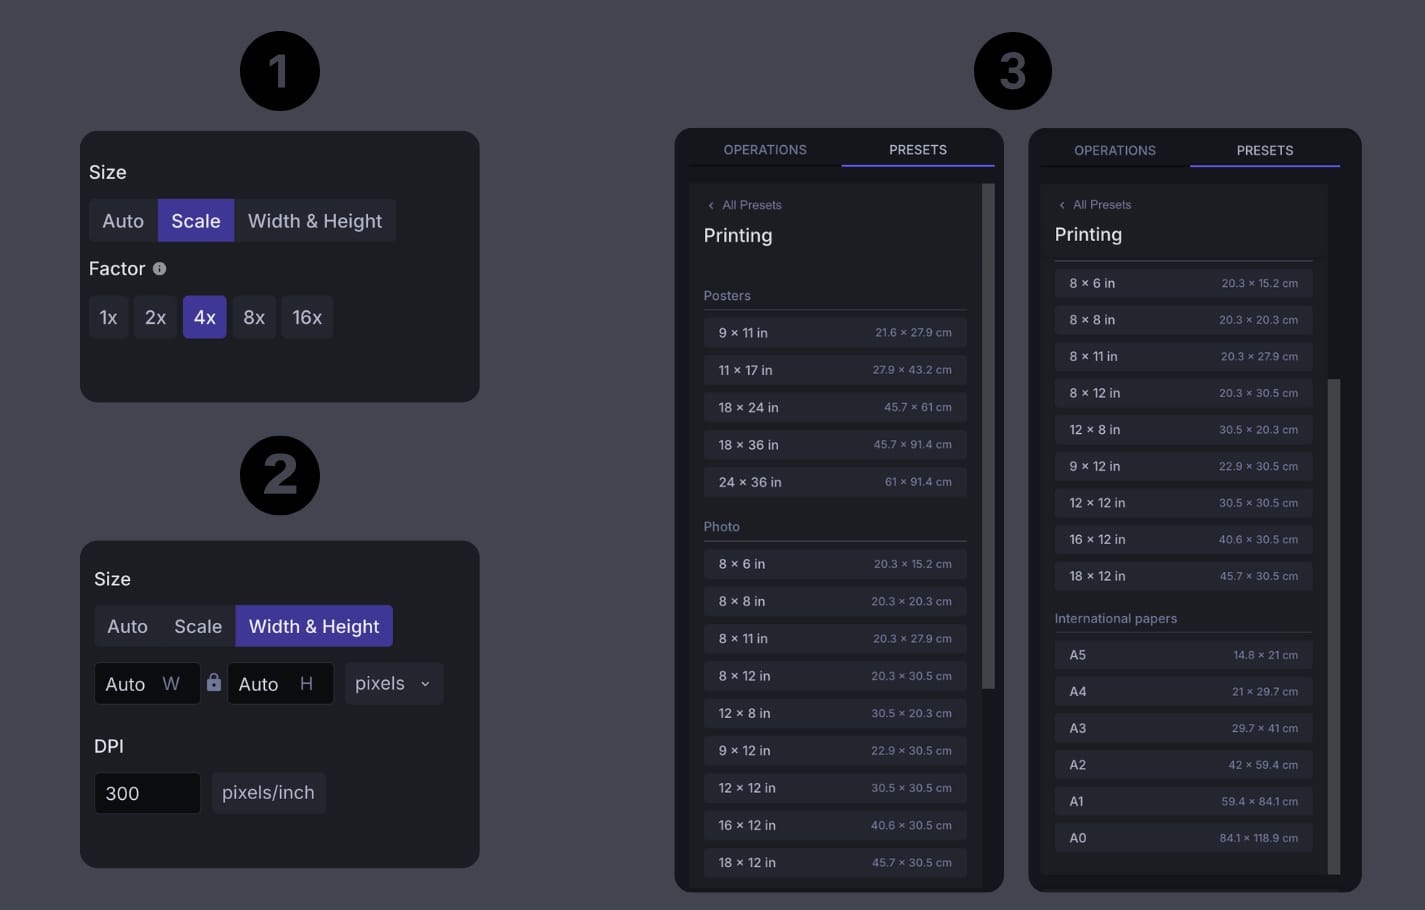
The safest approach is to choose the print size (via presets) and let LetsEnhance generate the pixel dimensions required for high-quality print output.
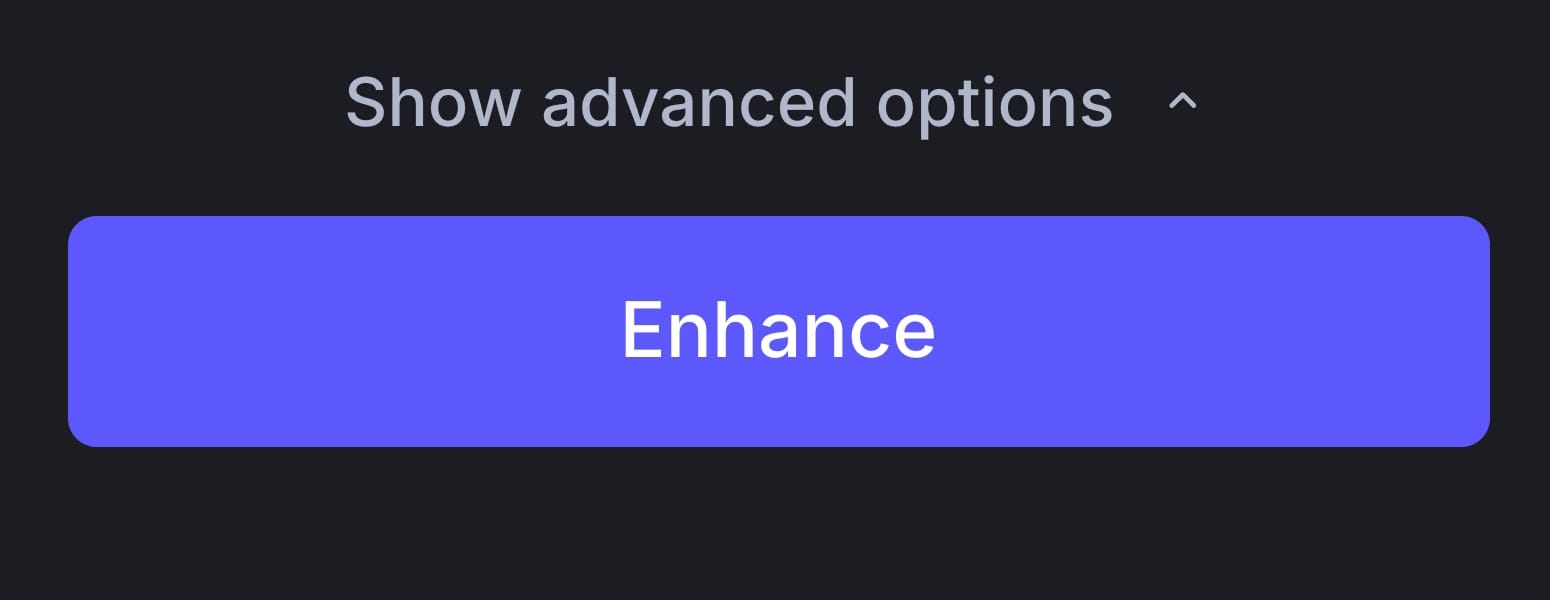
Step 5. Start processing
After you've finished with the settings, click Enhance button to run the enhancement.
Step 6. Review the before/after and download
After a few seconds, review the output by zooming in and inspecting edges, texture, and any small typography. Look for halos on edges, blocky compression artifacts, or unnatural textures in skin, fabric, and gradients.
If everything looks fine, download the file and use it in your layout or send it to print.
Try LetsEnhance now
If you are preparing images for print and want a faster path to print-ready files, LetsEnhance helps you upscale low-resolution photos, set the correct output size, and use printing presets for standard formats without manual calculations.
Sign up now and get 10 free credits to test the workflow on your own images. If you need ongoing capacity, subscriptions start from $9 per month.
FAQ
What is the difference between DPI and PPI for printing?
PPI (pixels per inch) describes how many pixels from an image are printed per inch of paper. DPI (dots per inch) describes how a printer places ink or toner on paper. For image preparation, PPI and pixel dimensions determine print quality. DPI is handled by the printer and does not add detail to the image file.
Does changing DPI increase image quality?
No. Changing the DPI value without increasing pixel dimensions only updates metadata. It may change how large the image prints by default, but it does not add detail or improve sharpness. To increase print quality, the image must contain more pixels.
How do I make an image 300 DPI for print?
To make an image suitable for 300 DPI printing, you need enough pixels for the intended print size. For example, an 8 × 10 inch print at 300 PPI requires at least 2400 × 3000 pixels. If the image is smaller, you must upscale it before setting the print size. You can use AI tools like LetsEnhance to upscale up to 16x and then increase the DPI to 300+.
What resolution do I need for high-quality printing?
For prints viewed up close, 300 PPI is a common standard. Larger prints viewed from farther away can often use 200 or even 150 PPI without visible quality loss. The correct resolution depends on print size and viewing distance, not a fixed DPI number.
Why does my image look sharp on screen but blurry in print?
Screens display images at small physical sizes, even when resolution is low. Printing enlarges the image, spreading the same pixels across more inches. If the pixel count is too low for the print size, the result appears soft or pixelated.
Can AI upscaling really improve print quality?
Yes. AI upscaling can add usable detail by generating new pixels based on learned patterns from high-resolution data. When done correctly, it allows small images to support larger print sizes. Results depend on the source image quality and the upscaling model used. We recommend using LetsEnhance and experimenting with different AI models to get the best results.
When should I upscale an image before printing?
You should upscale when the image’s pixel dimensions are below what the target print size requires. If the file doesn't meet the minimum pixel count for the desired PPI, upscaling is necessary to avoid softness and detail loss in print.
Is 300 DPI always required for printing?
No. 300 PPI is a good target for close-view prints like photo books, packaging, and framed photos. Posters and large-format prints can often look fine at lower PPI values because they are viewed from a greater distance.
How do I know if my image is print-ready?
Check the pixel dimensions against the intended print size and target PPI. Then review the image at 100% zoom for clean edges, stable textures, and readable small details. If it looks good at full resolution, it will usually print well.
What is the easiest way to prepare images for print without manual calculations?
The most reliable approach is to use printing presets that match standard print sizes. Printing presets automatically align pixel dimensions and print density, removing the need for manual PPI and resolution math while ensuring consistent print-ready output.
