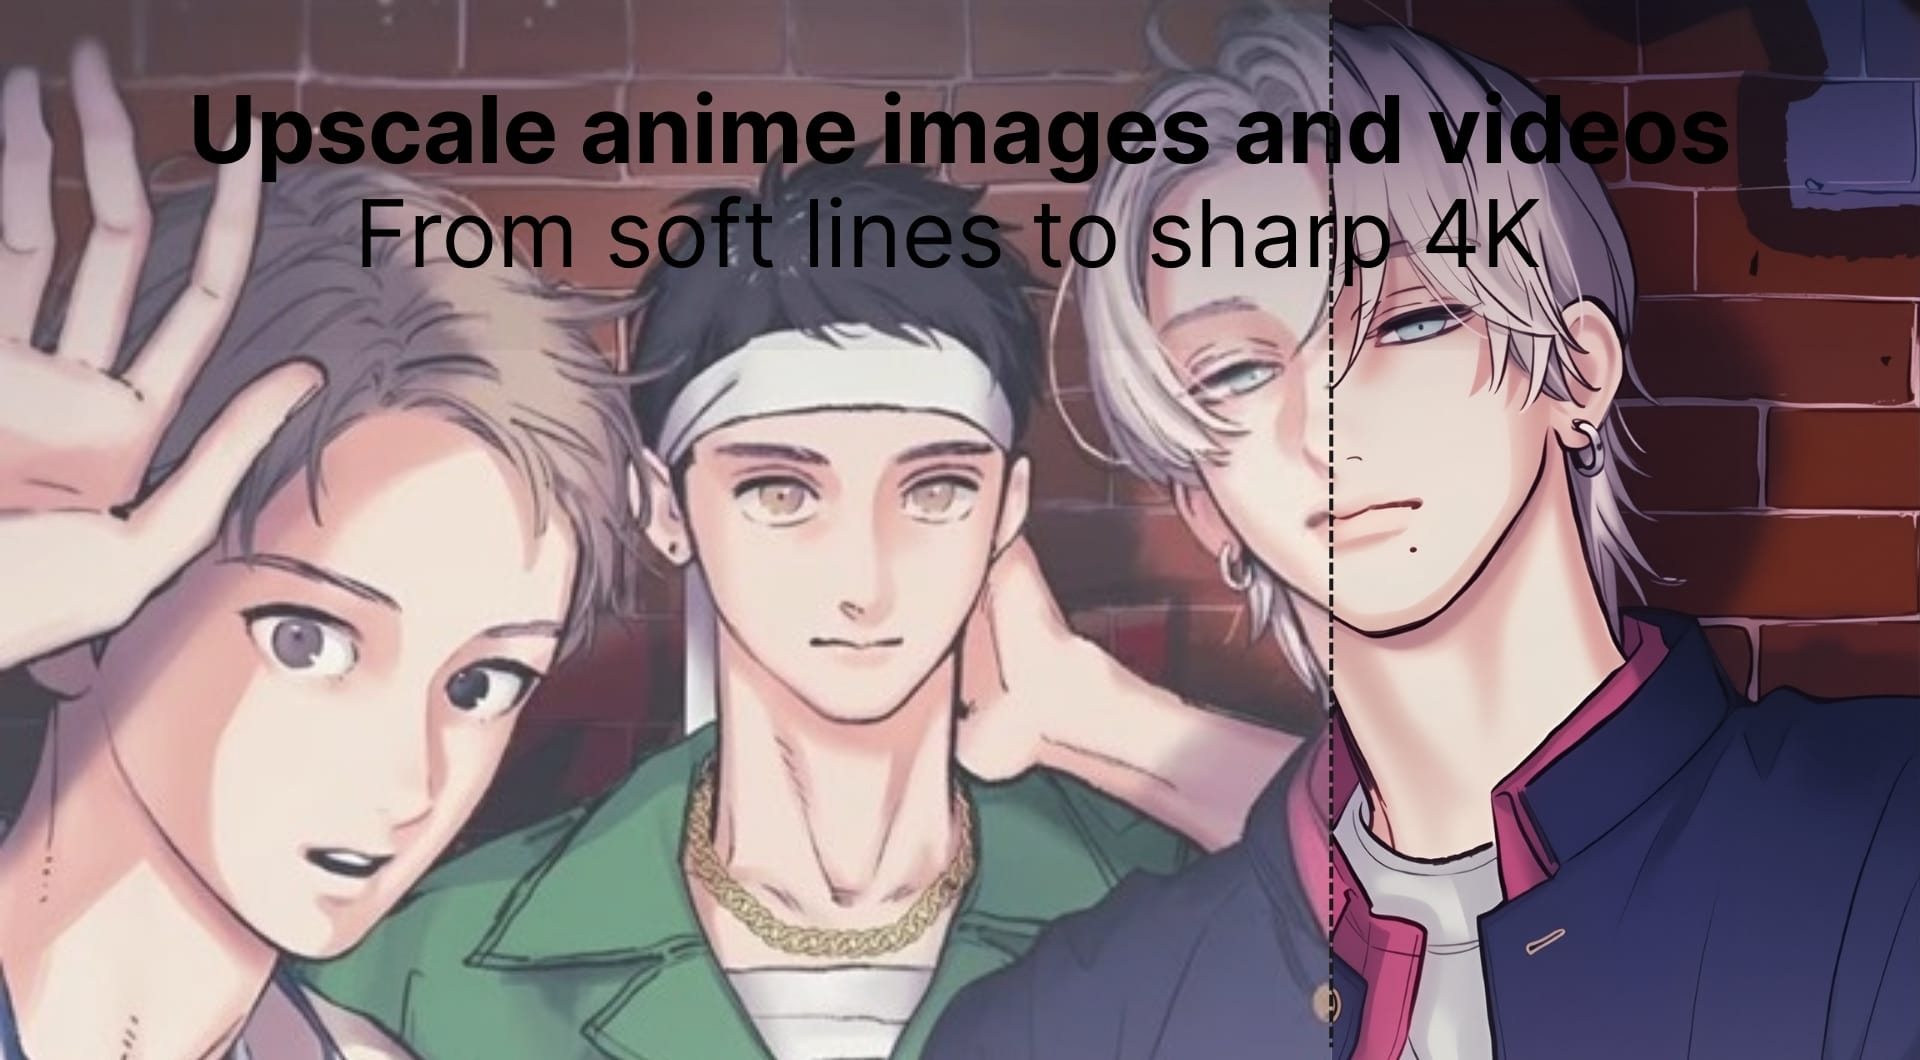
Anime upscaling is one of those tasks that looks simple until you do it. A naive resize makes line art fuzzy. Over-sharpening creates halos. Denoising smears gradients and adds banding.
In 2026, the default workflow is AI upscaling: reconstruct detail while keeping the stylized look intact. This guide is about doing it cleanly in LetsEnhance for both images and short clips, and getting actual 4K output without turning your frames into plastic.
Benefits of upscaling anime with AI
Cleaner line art at larger sizes
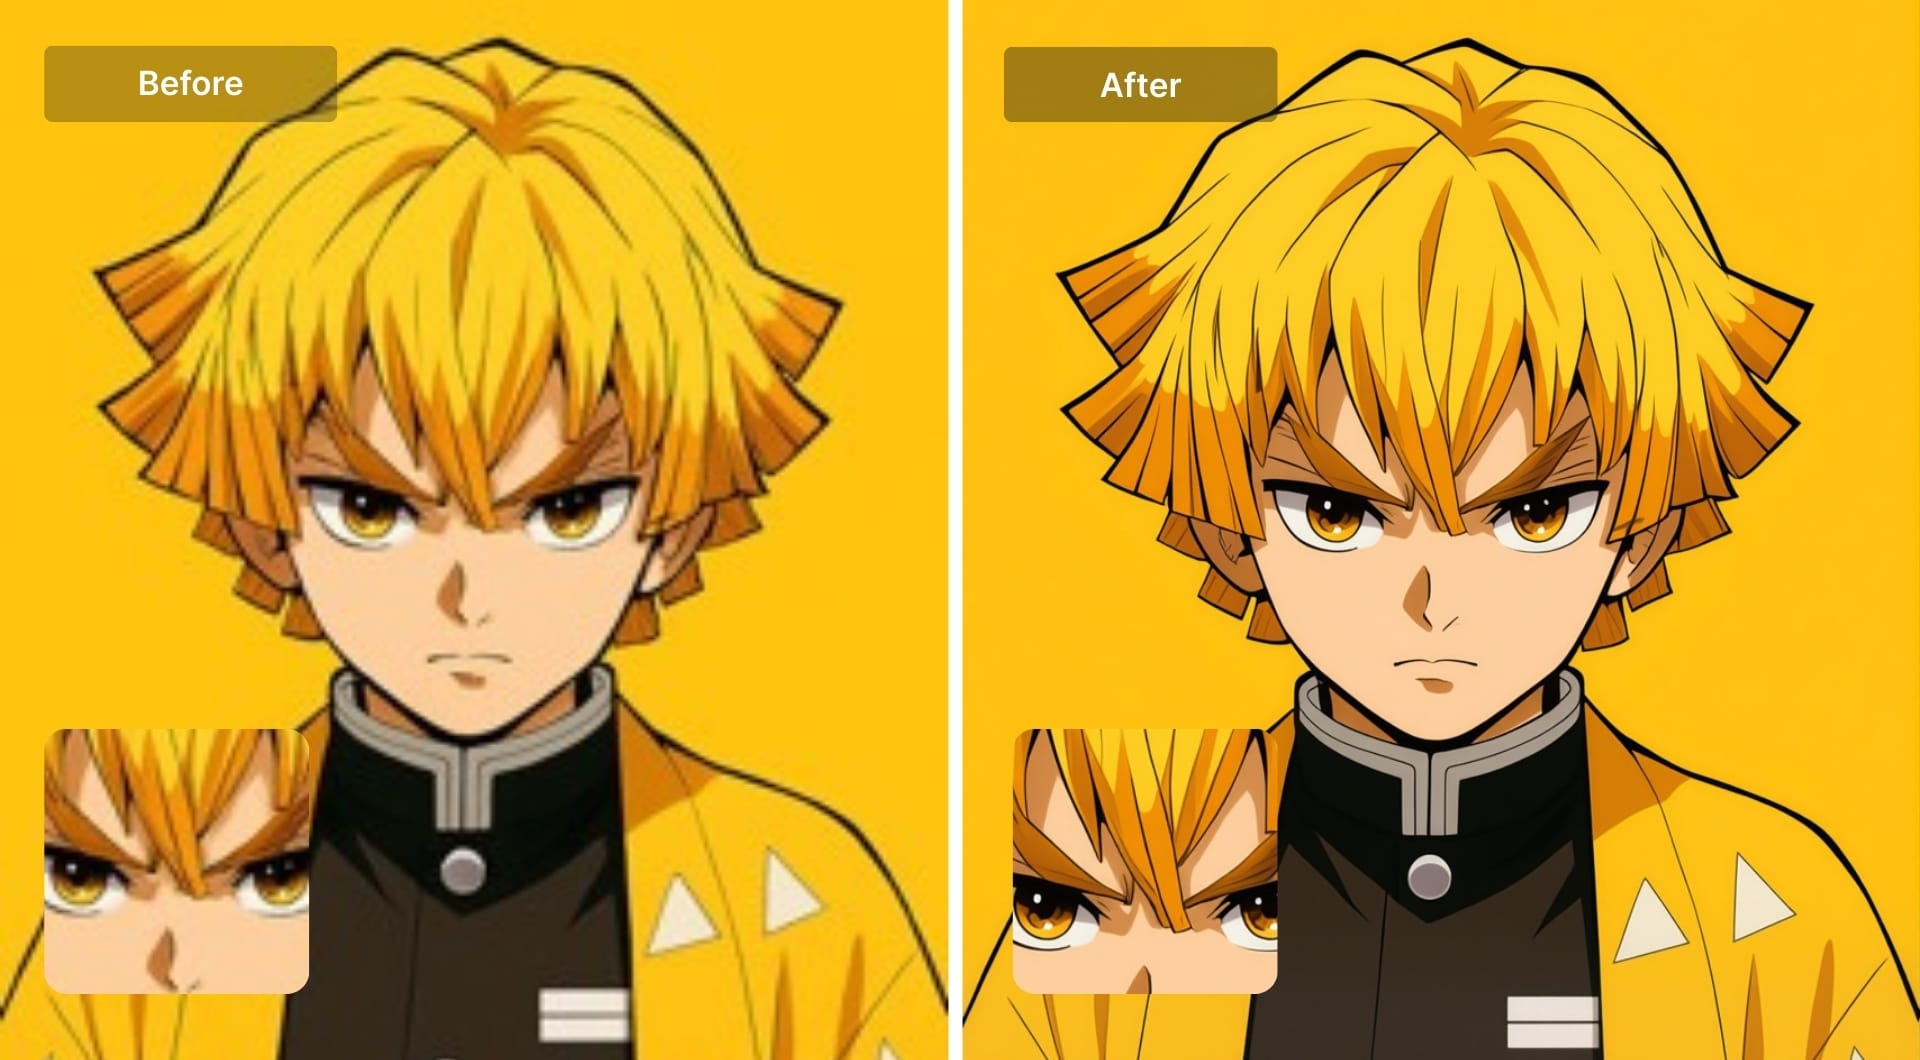
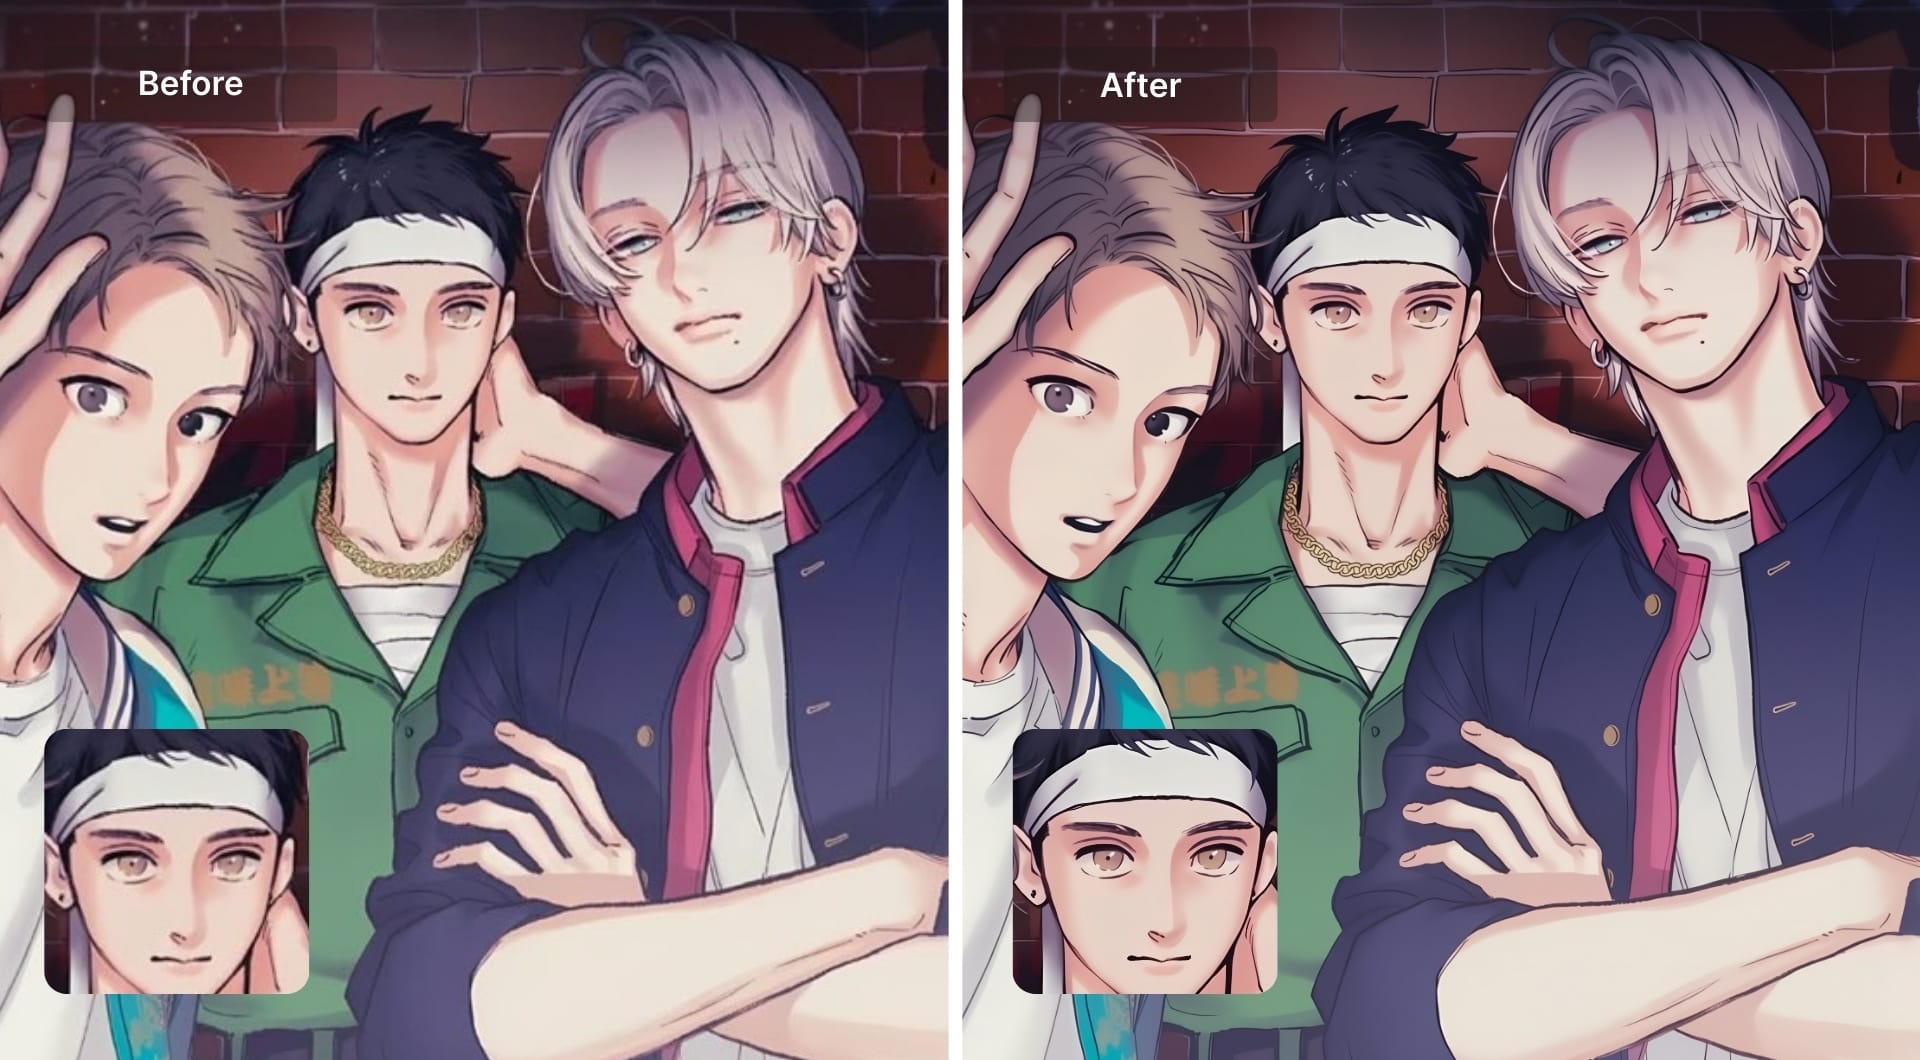
Anime is built on edges. Good AI upscaling strengthens true edges (line art, cel boundaries) instead of inventing texture everywhere. That matters when you’re going from a small screenshot to 3840×2160 for a 4K canvas.
Fewer compression artifacts
Most anime images and clips on the internet are already compressed (blockiness, ringing, mosquito noise around lines). AI upscaling can reduce the “cheap compression” look while scaling up, which makes 4K output survive another round of platform compression better.
Better gradients and flat shading (when you choose the right model)
Anime shading often uses smooth gradients and big flat color regions. A model tuned specifically for stylized content is less likely to add gritty “photo texture” to areas that should stay flat.
More room for real work
If you’re editing (AMV overlays, typography, crops, poster layouts), extra pixels buy you flexibility. “4K” is usually 3840×2160 for 16:9, but you can also upscale beyond 4K if you’re preparing for print-sized output.
Upscaling anime images with LetsEnhance: step-by-step guide
Step 1: Log in or sign up
Go to LetsEnhance and create an account or log in. New users get 10 free credits to test the tool.
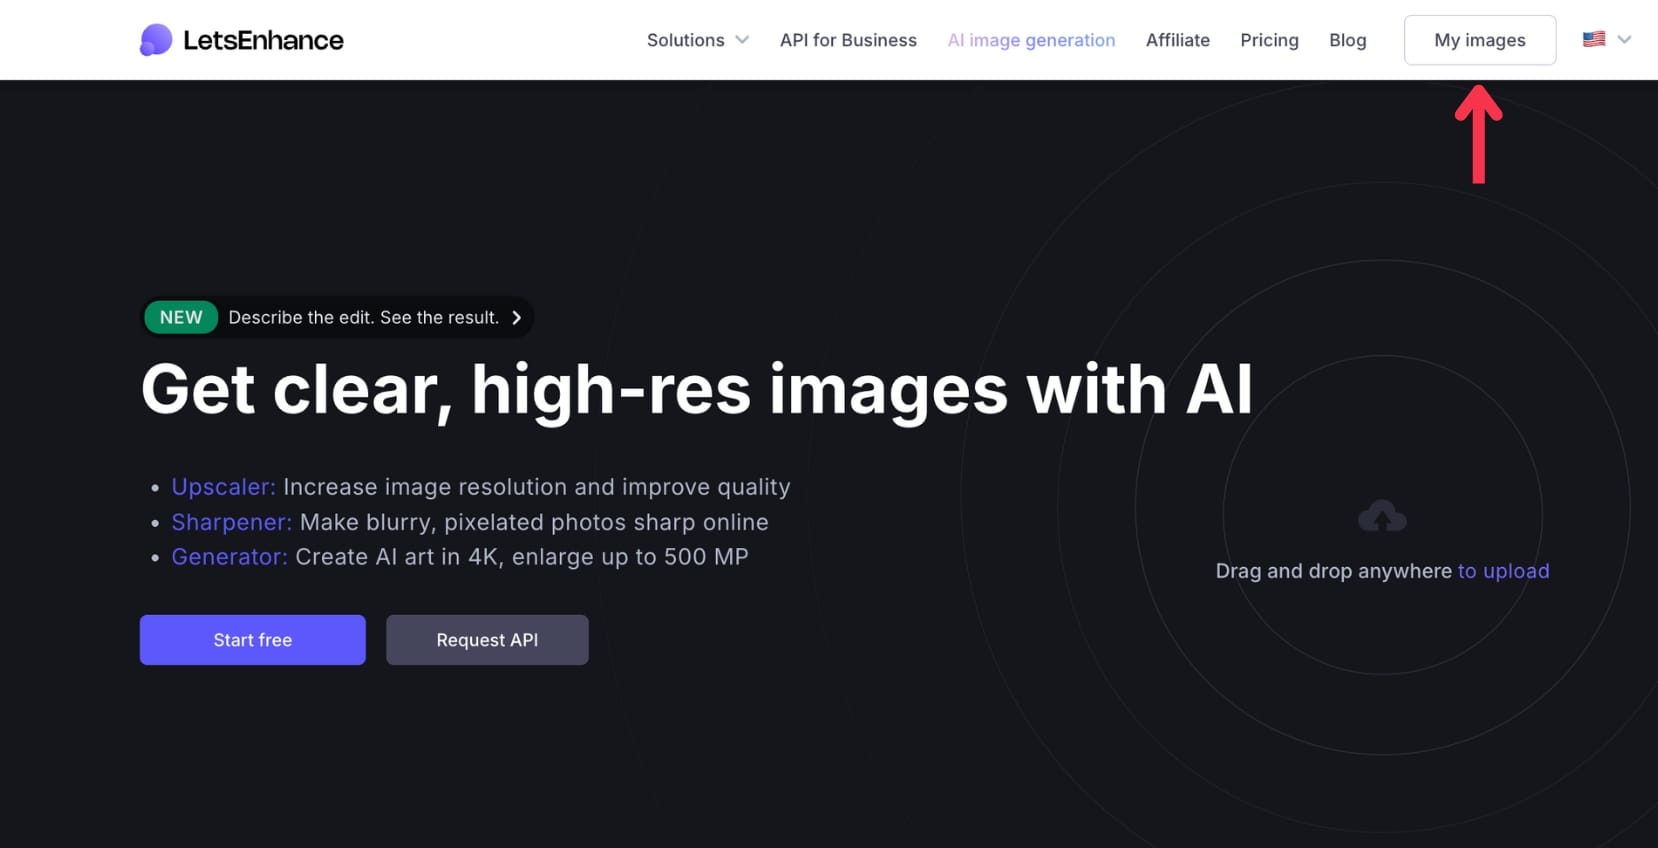
Step 2: Open “My images”
From the workspace header, click on My images to open the Enhancer tab. Here, you'll see your previous enhancements if you have any.
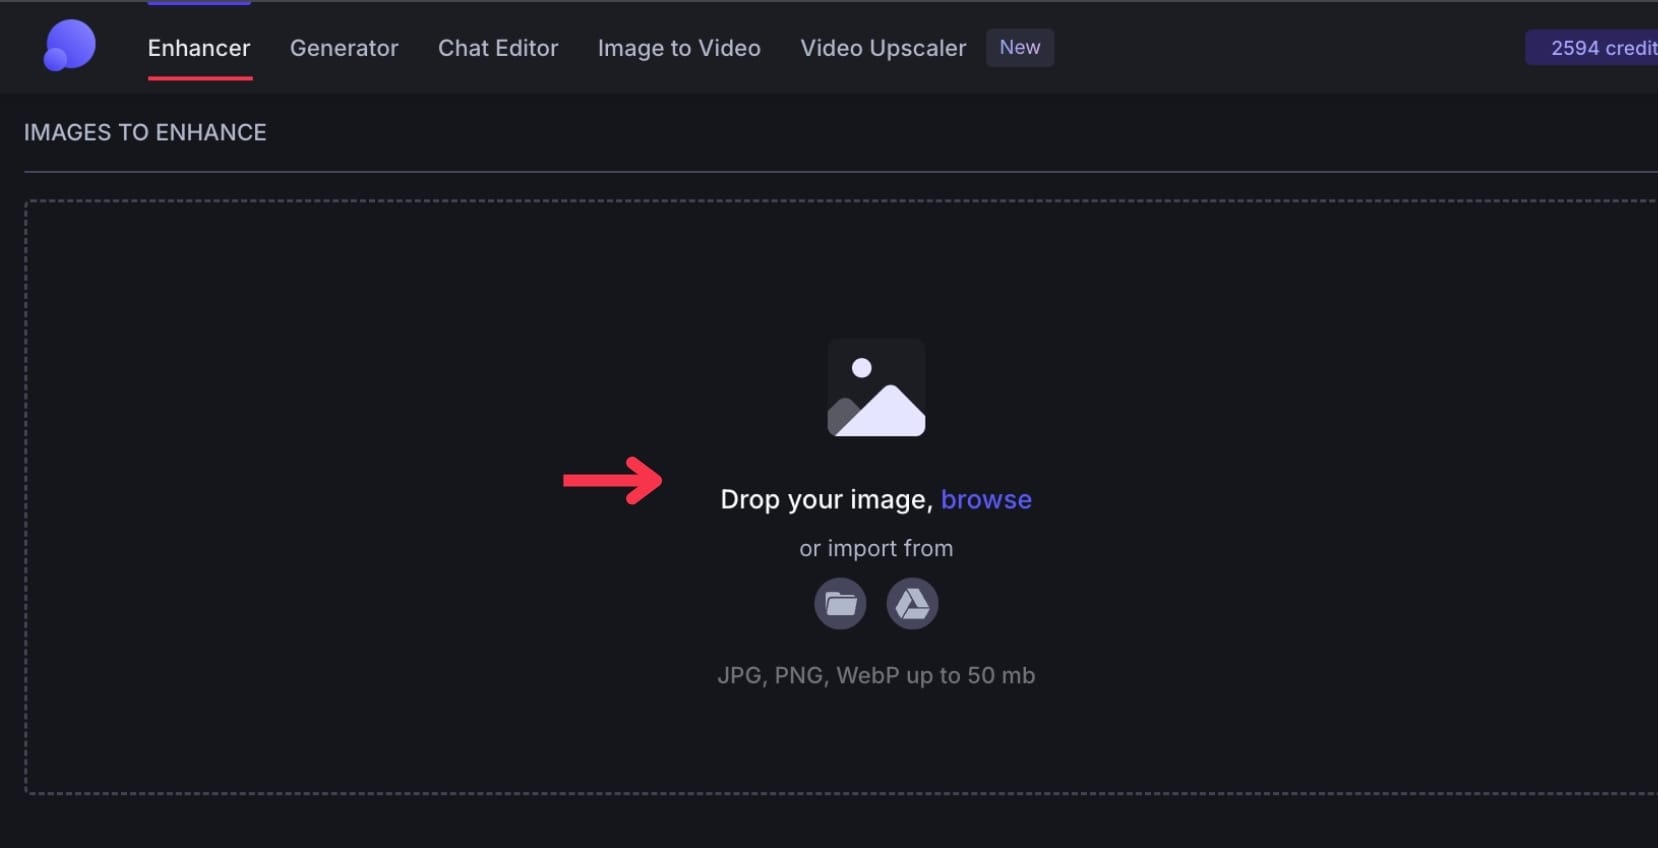
Step 3: Upload your anime image
Upload by drag-and-drop or file picker. LetsEnhance supports common formats like JPG, PNG, and WebP.
Step 4: Choose the right upscaler mode
In the right-side panel, pick the model that matches your source. For anime, Digital art is usually the starting point because it’s trained for illustrations, comics, cartoons, and anime-style images. You can also experiment with Ultra model to get creative transformation for very low-quality inputs.
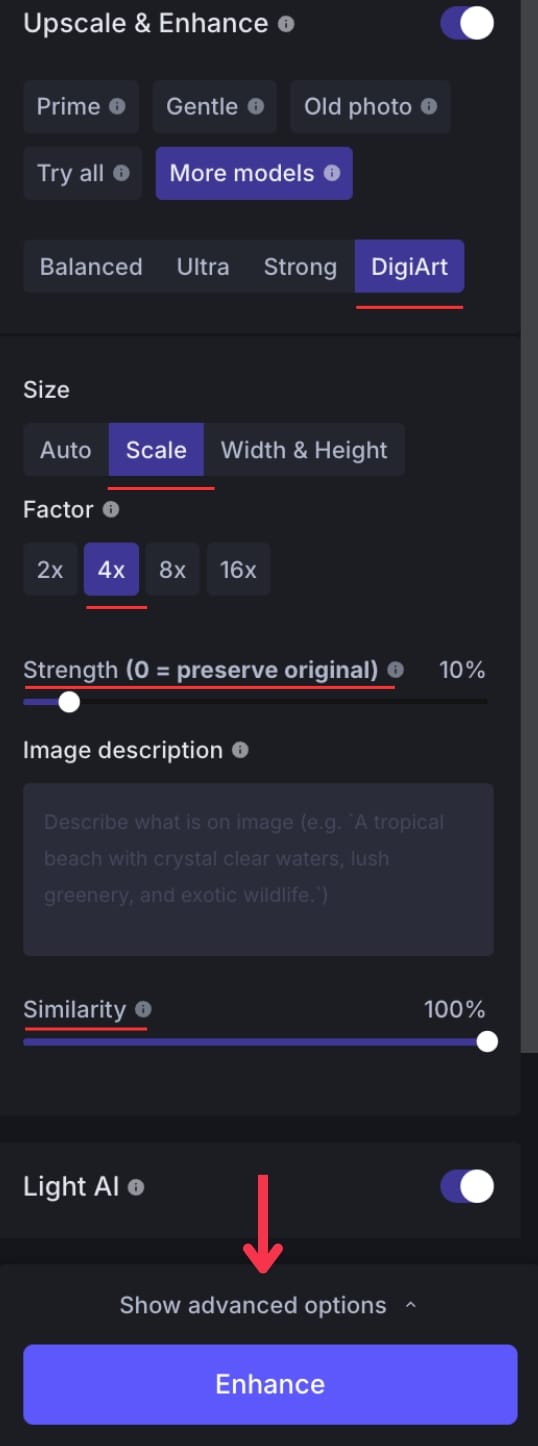
Step 5: Adjust settings if needed
Set output size. Under Size, choose how much you want to upscale, from 1× to 16×. If you’re preparing an image for print, you can also set a print-ready DPI (typically 300+) by clicking Width & height and specifying the physical size you need. DPI itself doesn't add detail, but it matters for print workflows because it defines how many pixels are allocated per inch at a given print size.
Besides this general settings, some upscalers expose extra sliders. For Digital art model, you have Strength slider, which controls how many new details AI can add (0=preserve original).
For Ultra, you have Size of changes and Intensity sliders which control how transformative the final output looks.
Step 6: Click Enhance, then preview and download
When your settings look right, click Enhance to start processing.
Once the job finishes, open the preview and check the areas that usually break first in anime upscales: line edges, flat gradients, and small text. If the result looks clean, download the upscaled image to your computer.
Upscaling anime videos with LetsEnhance: step-by-step guide
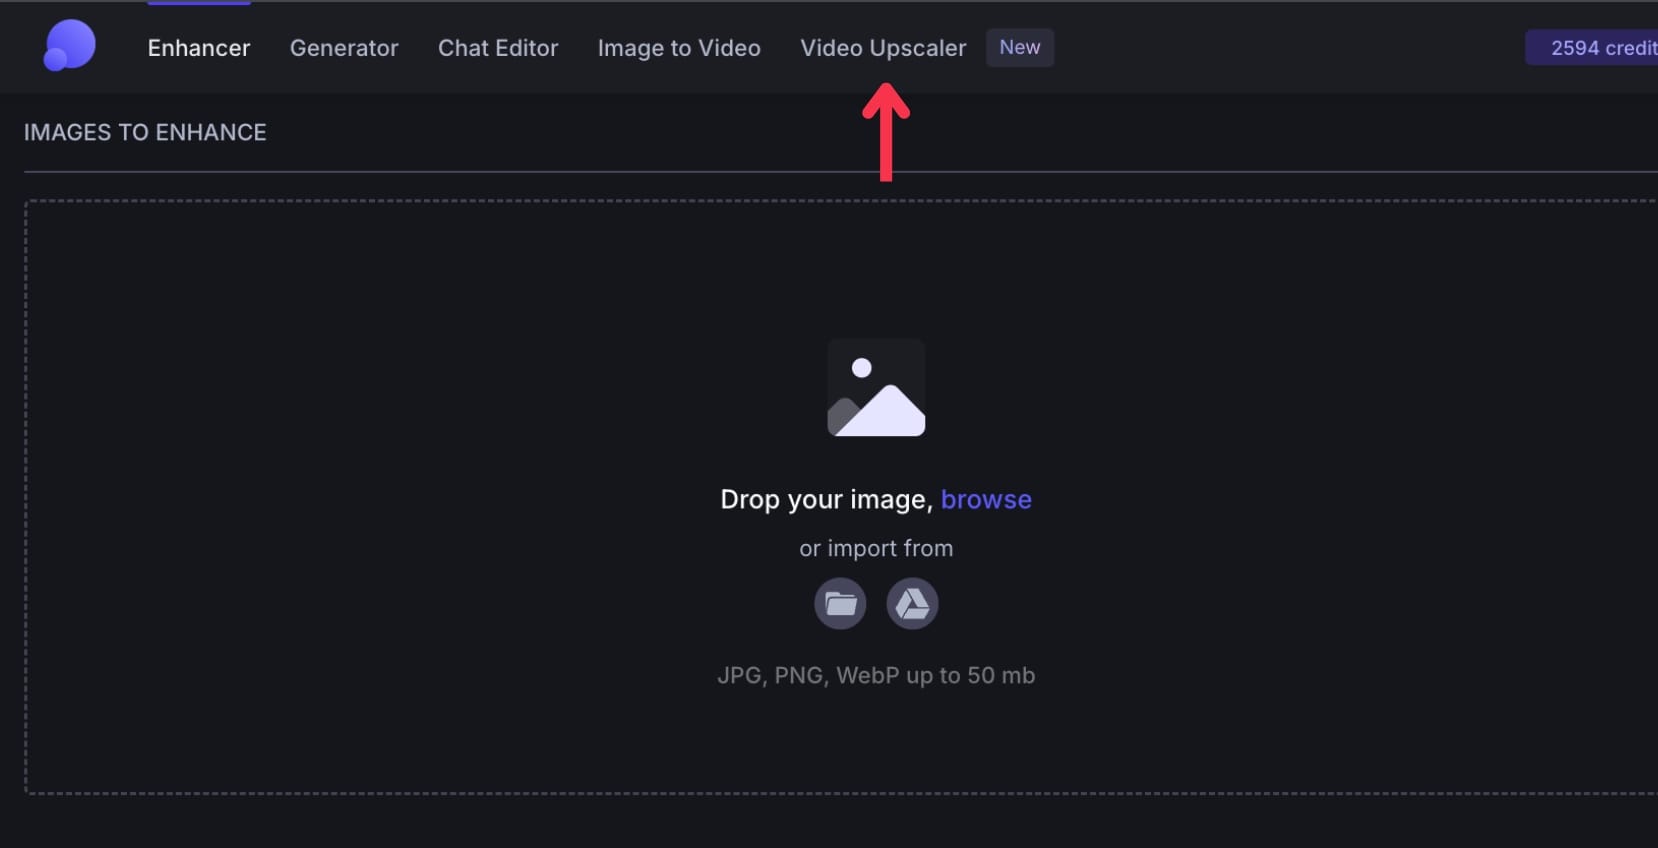
Step 1: Open the video upscaler
If you’re already in the LetsEnhance workspace, open the Video Upscaler tab.
Step 2: Drop your video
Drag and drop your clip. Supported formats include mp4, mov, and webm. Current limits are 100MB and up to 2 minutes.
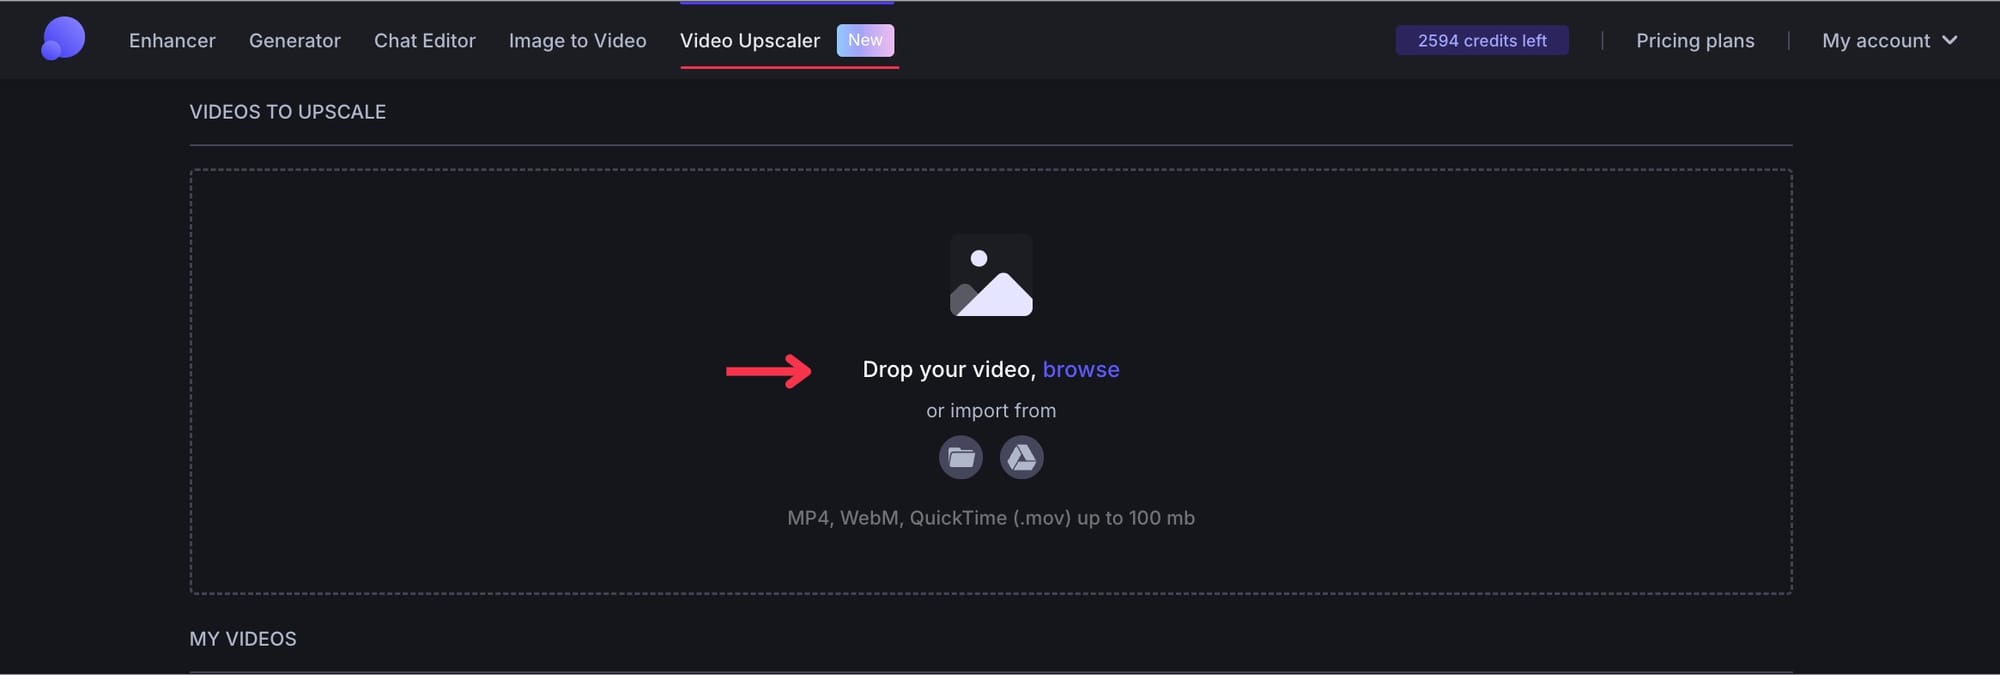
Step 3: Choose export settings
- Size: Auto, HD (720p), Full HD (1080p), 2K, or 4K
- Format: Auto, mp4, webm, or mov

Step 4: Upscale and download
Click Upscale, then download after processing. It'll deliver the result in a few minutes.
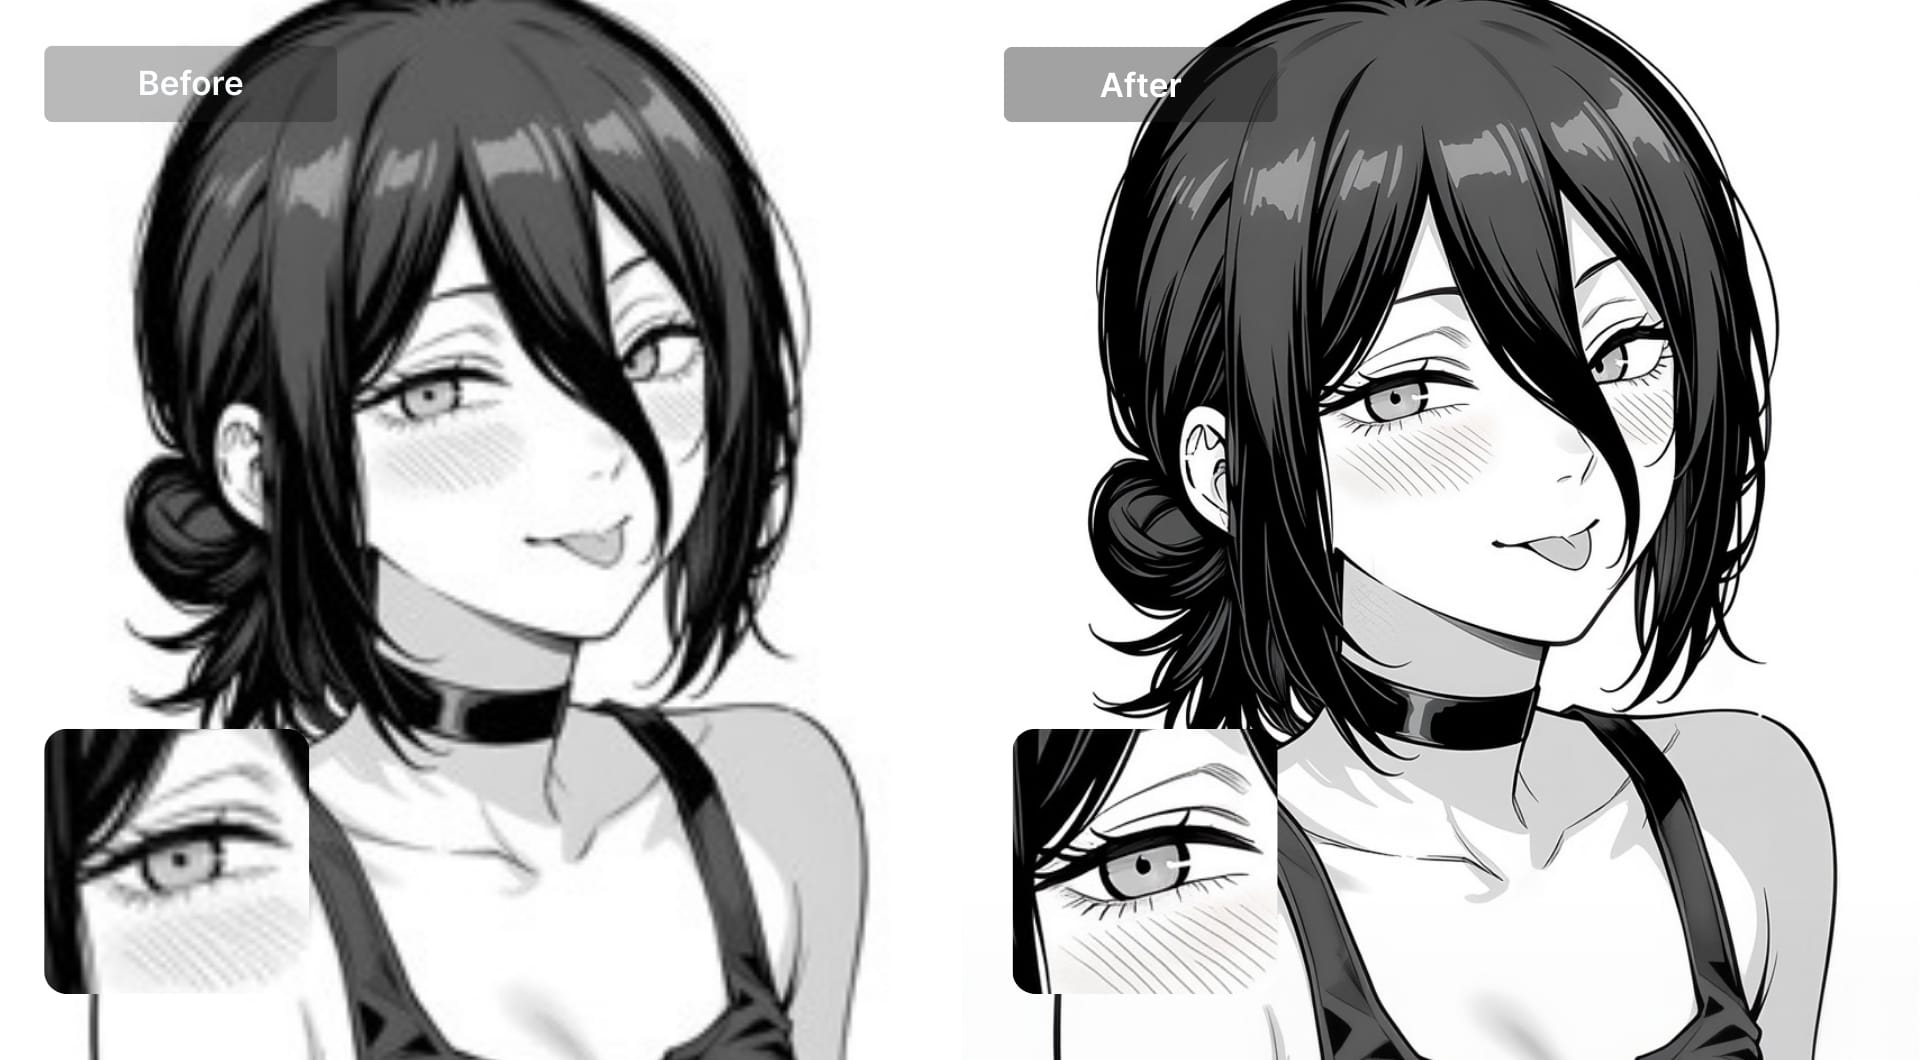
AI upscaling sharpens facial details in anime video frames
Why choose LetsEnhance for anime upscaling
Dedicated model that matches anime’s structure
Anime upscaling lives and dies on edges. Digital art is built for illustrations, comics, and anime-style images, so it prioritizes clean line work and stable color blocks instead of inventing photo texture. That means fewer “grainy” patches in flat shading and fewer halos around outlines.
High resolution ceilings, so 4K is not the end of the road
4K is a useful target for screens, but it is not always enough for posters, print layouts, or heavy crops. LetsEnhance supports larger outputs depending on your plan, so you can scale past 4K when the final use needs it. This matters for anime art because artifacts become more obvious on big prints.
Video and photo upscaling in one workflow
LetsEnhance keeps both in the same workspace, so you don’t have to bounce between separate tools with different settings and output quirks. That consistency helps when you want images and video to match in sharpness and overall look.
Processing in the browser (no powerful GPU needed)
Upscaling is compute-heavy, and local tools often assume you have a decent GPU. With LetsEnhance, the heavy lifting runs in the cloud, so your laptop is just uploading and downloading. That makes it practical on a work machine, a lightweight device, or when you’re moving fast and do not want to set up software. You also avoid the usual driver updates and model downloads.
Batch processing for real workloads
LetsEnhance lets you process up to 20 images at once, which is the difference between a quick batch job and a tedious one-by-one routine. For larger pipelines, the API by Claid.ai is the next step, so you can upscale at scale and keep results consistent across thousands of images.
Try LetsEnhance now
If you haven't done yet, create an account and get 10 free credits to test image upscaling on anime frames or artwork.
Note that video upscaling is a paid, credit-based feature (it consumes credits by output length and resolution), so if you plan to upscale clips regularly, you’ll want a subscription. Personal subscriptions start from $9/month. You can also buy pay as you go bundles with one time purchase.
FAQ
How do I upscale anime to 4K online?
You need to use AI tools like LetsEnhance for high-quality results. Upload your anime image to LetsEnhance, pick Digital art. Then set Size to reach a 4K target (for 16:9, that is typically 3840×2160) and click Enhance. Check the preview for line edges and gradients before downloading. LetsEnhance runs in the cloud, so you can do this in a browser without a local GPU.
What is the best AI upscaler for anime images?
The best AI upscaler for anime images depends on what you’re starting with and how you want the result to look. For most people, LetsEnhance is the strongest all-around option because its Digital art model is tuned for anime-style line work and flat shading, and it can push output well beyond 4K in a simple browser workflow. If you want a free, conservative tool that prioritizes line preservation, Waifu2x is still a solid choice, especially for manga pages and clean 2× upscales. If you’re a power user working with Stable Diffusion or ComfyUI, Real-ESRGAN Anime 6B (often run via Upscayl) gives more control and strong artifact repair, but it can be more aggressive and requires setup. For quick online jobs with minimal friction, Bigjpg and VanceAI Anime Upscaler are convenient, while lightweight web tools like Upscale.media are “good enough” for casual use cases when perfect line fidelity is not the priority.
How do I upscale anime video to 4K?
Open the Video Upscaler in LetsEnhance, drop your clip, then select 4K as the output size and pick an export format such as mp4, mov, or webm. Click Upscale and download when it completes. The current tool is designed for short clips, with stated limits like file size and duration, so it’s best for highlights, promos, and short edits rather than full episodes.
Does AI upscaling ruin anime line art?
It can, if you push settings too hard or pick a model tuned for photos. The most common failure modes are halos around outlines, crawling noise on edges, and added “skin texture” in flat color areas. To avoid that, use LetsEnhance's Digital art model, keep “extra” sliders conservative, and evaluate the preview at 100% zoom on faces, hair strands, and thin outlines before downloading.
What does the “Strength” slider do in the Digital art model?
Strength controls how much the model is allowed to reconstruct detail versus preserve the original. A value of 0 aims to preserve the source most closely, while higher values can increase sharpness and apparent detail, but may also introduce stylized changes. For anime frames, a good workflow is to start low, then increase only if line edges still look soft after upscaling.
How many credits does it take to upscale anime images in LetsEnhance?
LetsEnhance uses a credit system where 1 image typically costs 1 credit, regardless of the model you choose. New users commonly get 10 free credits to test image upscaling before subscribing. If you work in batches, this pricing stays predictable: 20 images usually means 20 credits.
Can I batch upscale anime frames in LetsEnhance?
Yes. LetsEnhance supports batch processing, with guidance that you can upload up to 20 images at a time. This is useful for frame packs, thumbnails, or consistent upscales across a set. If you need to upscale at scale, the API is the standard next step because it lets you automate the same processing across hundreds or thousands of images.
Can I upscale anime for print? Do I need 300 DPI?
For print, what matters is pixel dimensions relative to print size. “300 DPI” is a print layout convention that tells printers how many pixels to pack into each inch; it does not add detail by itself. The practical workflow is: upscale to the pixel size you need for your intended print dimensions, then set DPI metadata (often 300) in your export or layout tool. LetsEnhance helps by giving you higher-resolution output so your print layout has enough real pixels to work with.
What is 4K resolution for anime wallpapers?
For a standard 16:9 wallpaper, 4K UHD is typically 3840×2160. If you want a portrait wallpaper (phone) or ultrawide monitor format, “4K” can be interpreted as a long-edge target instead of a strict 16:9 canvas. The clean approach is to pick the aspect ratio you actually need, then upscale until the long edge hits your target resolution.
