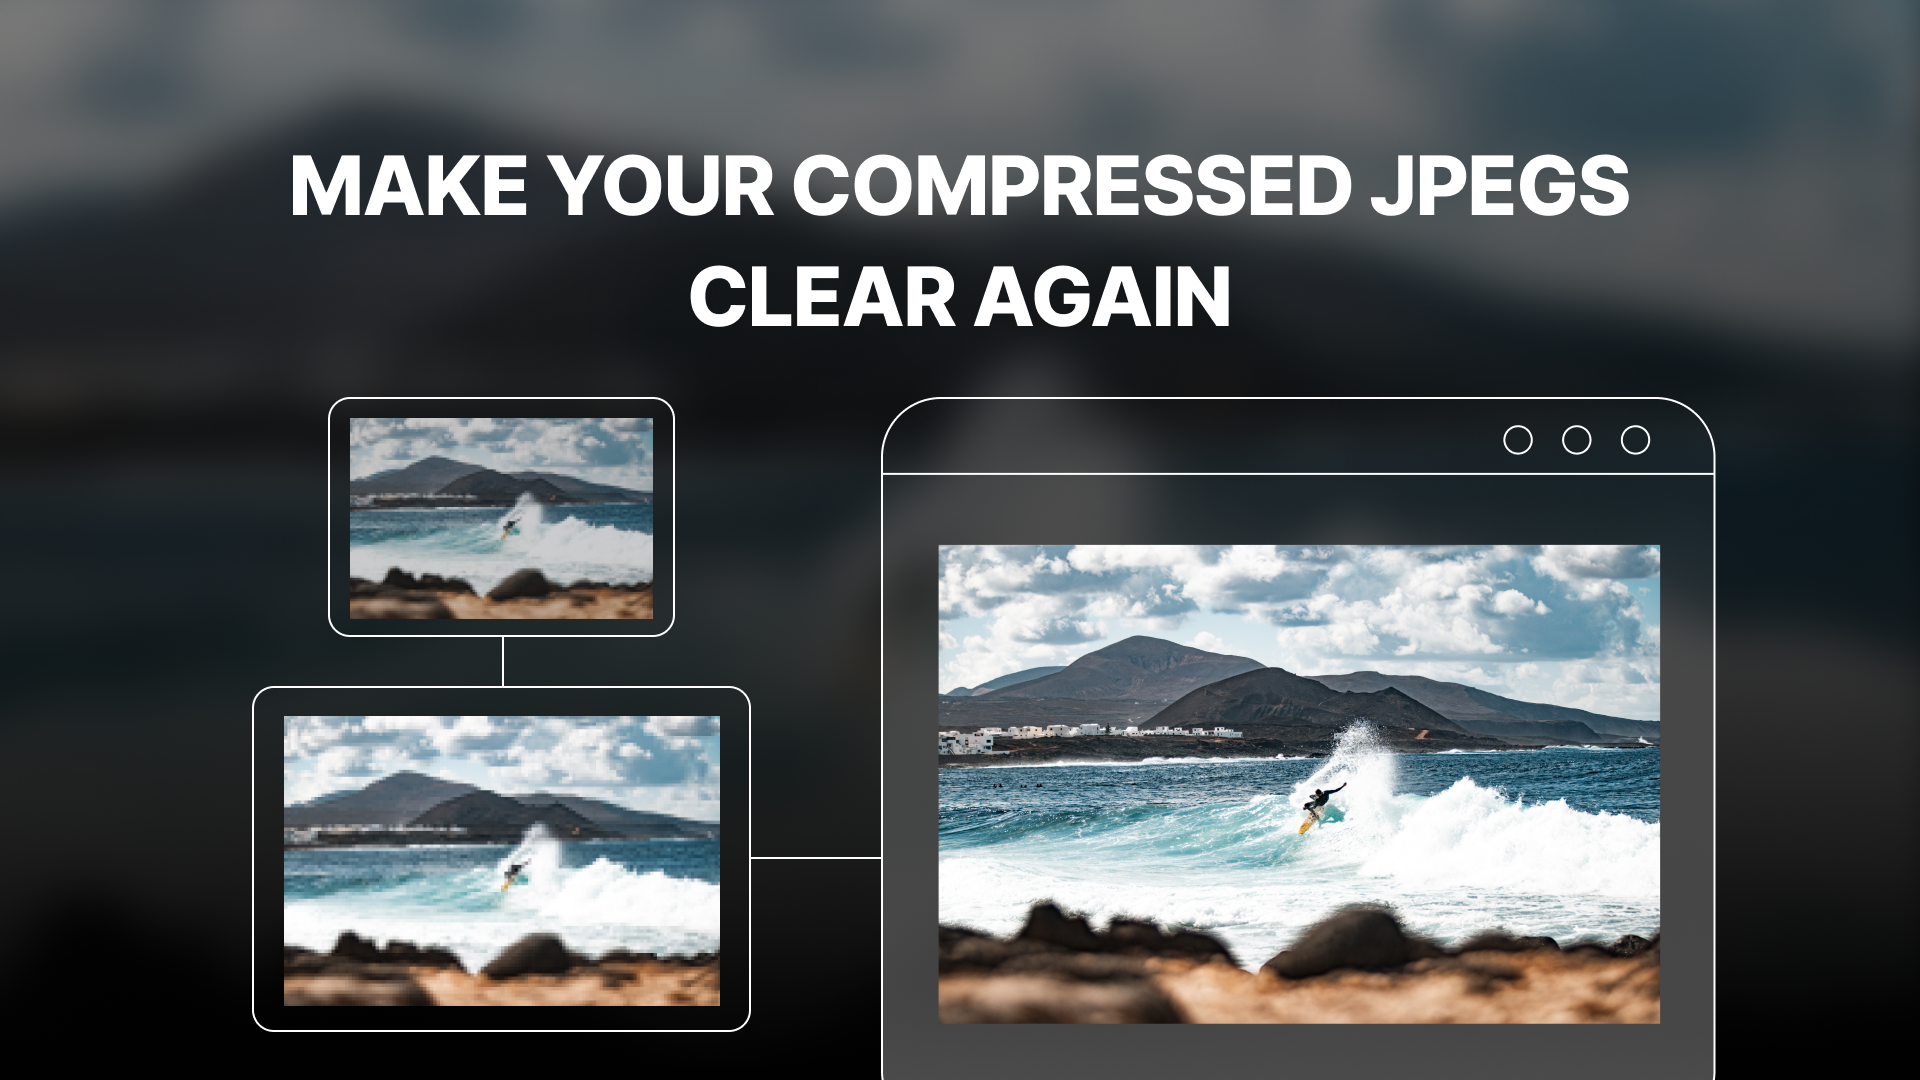
JPEG compression can lead to annoying visual glitches. Restore JPEG image quality with LetsEnhance is fast and super easy. Curious how this works? Read on!
Takeaways
- JPEG compression can lead to a number of visual glitches or artifacts that reduce the quality of the image.
- There are three general types of compression artifacts, including blockiness, ringing, and color bleed.
- LetsEnhance can restore compressed images and fix visual artifacts under a minute.
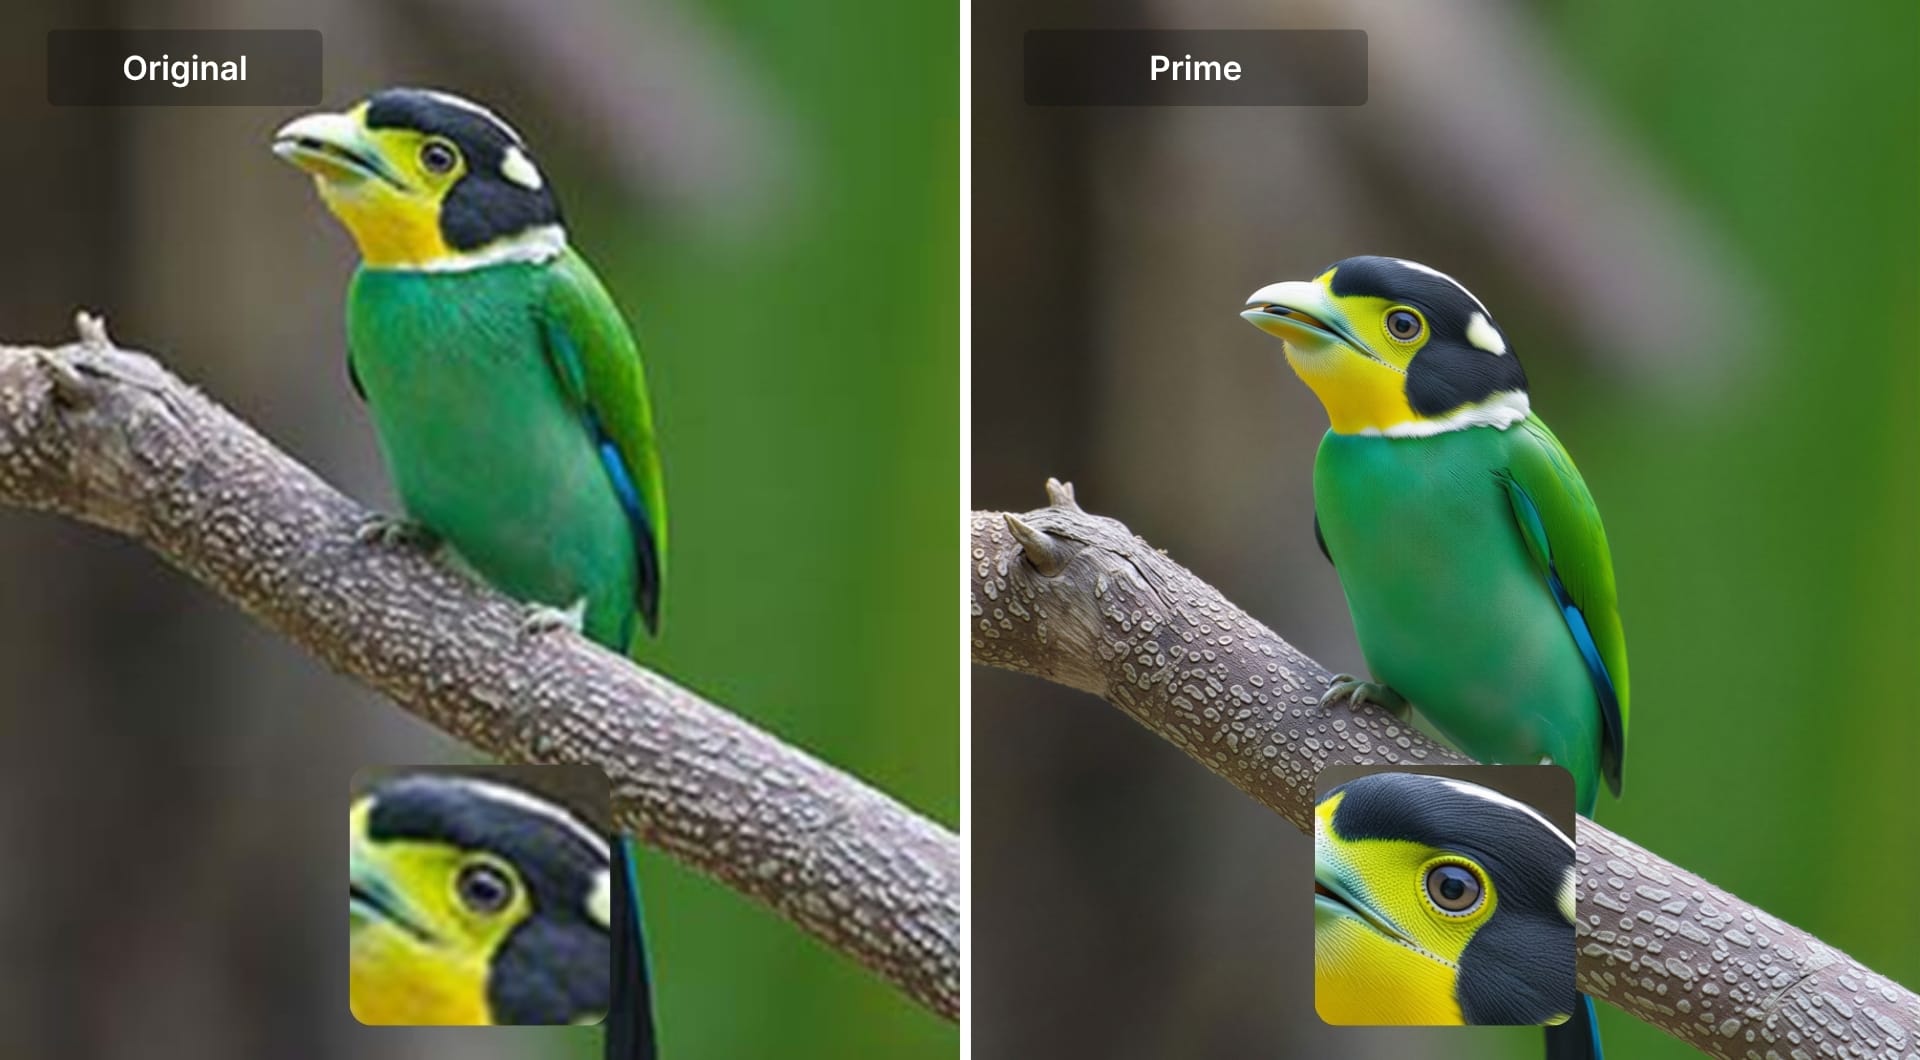
- Restoring compressed JPEGs with LetsEnhance delivers sharper and more natural results than traditional tools like Photoshop.
What Causes JPEG Compression Artifacts
Compression is the process of decreasing the size of a particular file (in this case an image) and there are two ways of going about this. With the right software, images can be compressed without a visible loss in quality. This is called lossless compression.
However, there is also lossy compression, which means that the image may end up with a number of visual glitches called “artifacts”. Let's get to know different compression artifacts and see what they look.
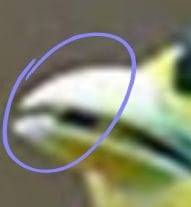
Blockiness
One of the most common artifacts found in faulty JPEG compression is blockiness, which causes an image to look blurry and have jagged or pixelated edges. This artifact can be spotted by looking at edges where two different colors meet.
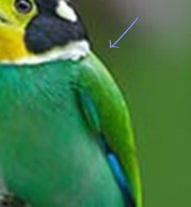
Color Bleed
Color bleed can be spotted on edges between two contrasting colors where a third color is visible that isn't a shade or hue of either color. This causes an almost mist-like effect in certain areas of the image.
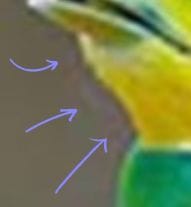
Ringing
If you see extra lines near edges, then chances are you’ve spotted a ringing effect. Sometimes called the "Halo" effect, ringing causes images to have bizarre outlines that are in no way connected to the image.
Keep in mind, that after compression, a JPEG may show one, two, or all three of these artifacts at the same time depending on how the image was compressed, the image size, its dots-per-inch (DPI), and what colors the image contains.
How AI Can Restore Image Quality
While compression artifacts are fixable, doing this by hand can requires a lot of time and editing experience. This is why AI has become the go-to solution for JPEG compression artifacts and the restoration of low-quality images.
LetsEnhance can make short work of compressed images and fix artifacts or other visual glitches. The algorithm that powers the AI is designed to detect these specific artifacts and smooth them out. Our B2B API alternative Claid.ai also has a dedicated compression restoration function that is optimized for removing annoying artifacts from product photos.
Here’s a quick guide on how to restore image quality.
Step-by-step: Fix JPEG compression with LetsEnhance
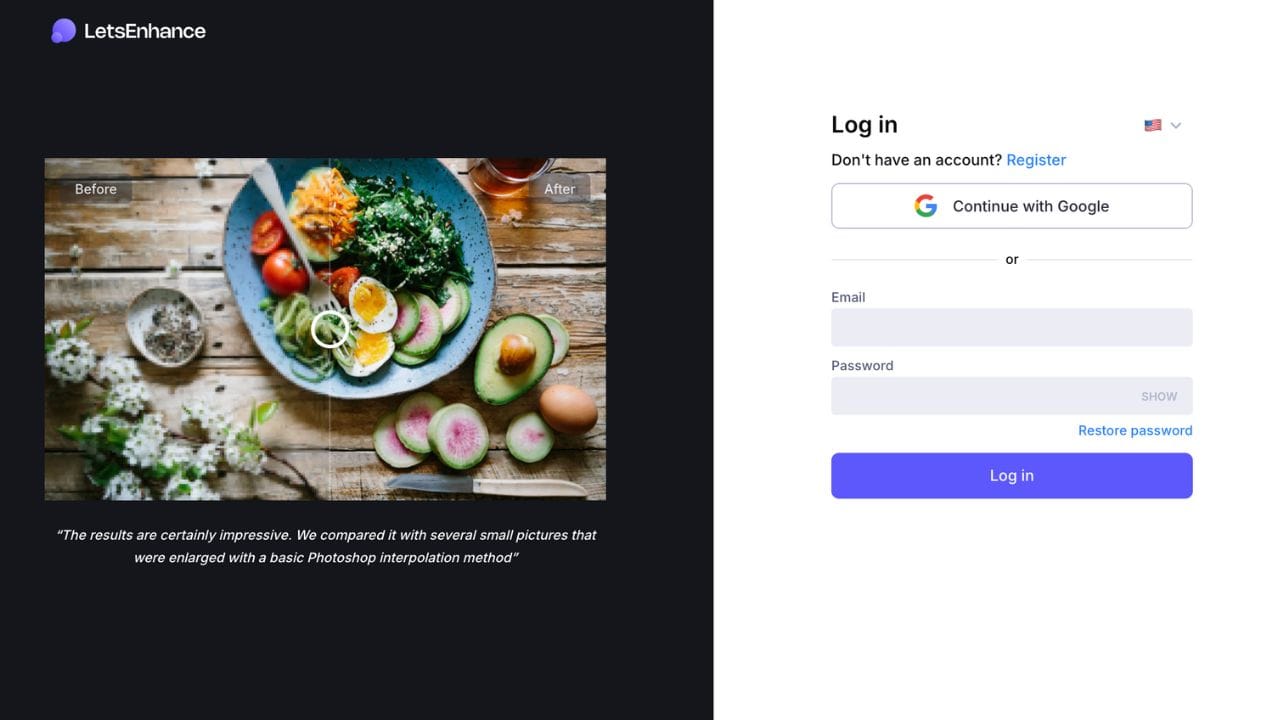
Step 1. Visit https://letsenhance.io/boost to log in or create an account.
Step 2. Drop your image, browse or import directly from Files or Google Drive.

Step 3. From the available seven upscaling models, choose the one that best suits your image type. We recommend using our latest and most natural Prime model, which is ideal for portraits, product and food shots, and other general use cases where natural texture and detail matter.
You can also experiment with other AI models to see which one delivers the best result for your use case.

Step 4. Click Enhance and once it's finished click on the downward arrow button to save the image to your device.
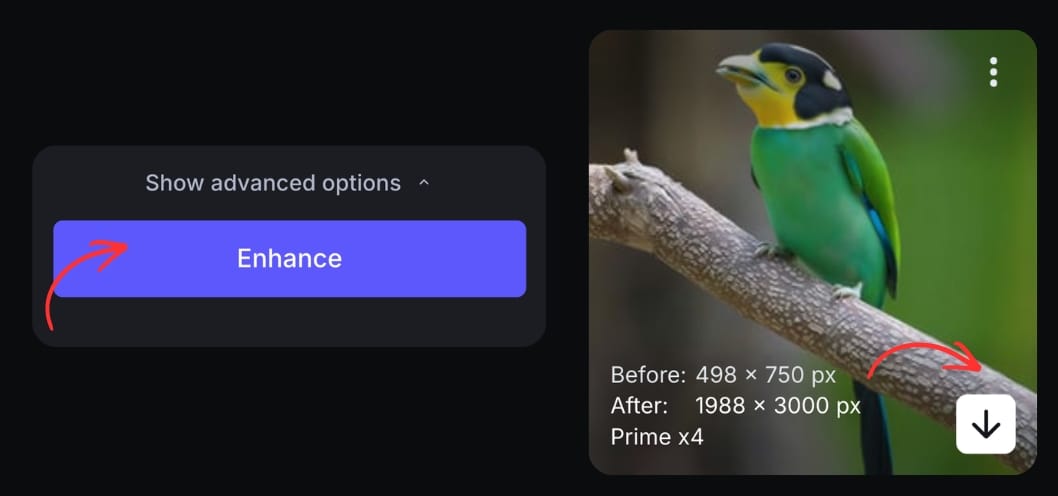
The restored image will be saved to your device. The entire process, so long as you have a stable internet connection and are using a desktop browser, takes around 30 seconds, if not less, depending on the complexity of the image.
This is what makes LetsEnhance such a great option for restoring low-quality pictures. Simply upload your JPEG or PNG image and it'll handle the rest within seconds.
You can check out more about our Prime AI image upscaler on our official YouTube channel.
Comparing LetsEnhance vs. Photoshop
When it comes to fixing JPEG compression, Photoshop offers a JPEG Artifacts Removal filter that clears up the obvious blur and compression noise. However, it doesn't bring back the true crispness and sharpness needed for professional use.
Besides that, Photoshop can be challenging for beginners. It requires some editing experience, and achieving the best results involves manually adjusting multiple tools and layers, which can be time-consuming.
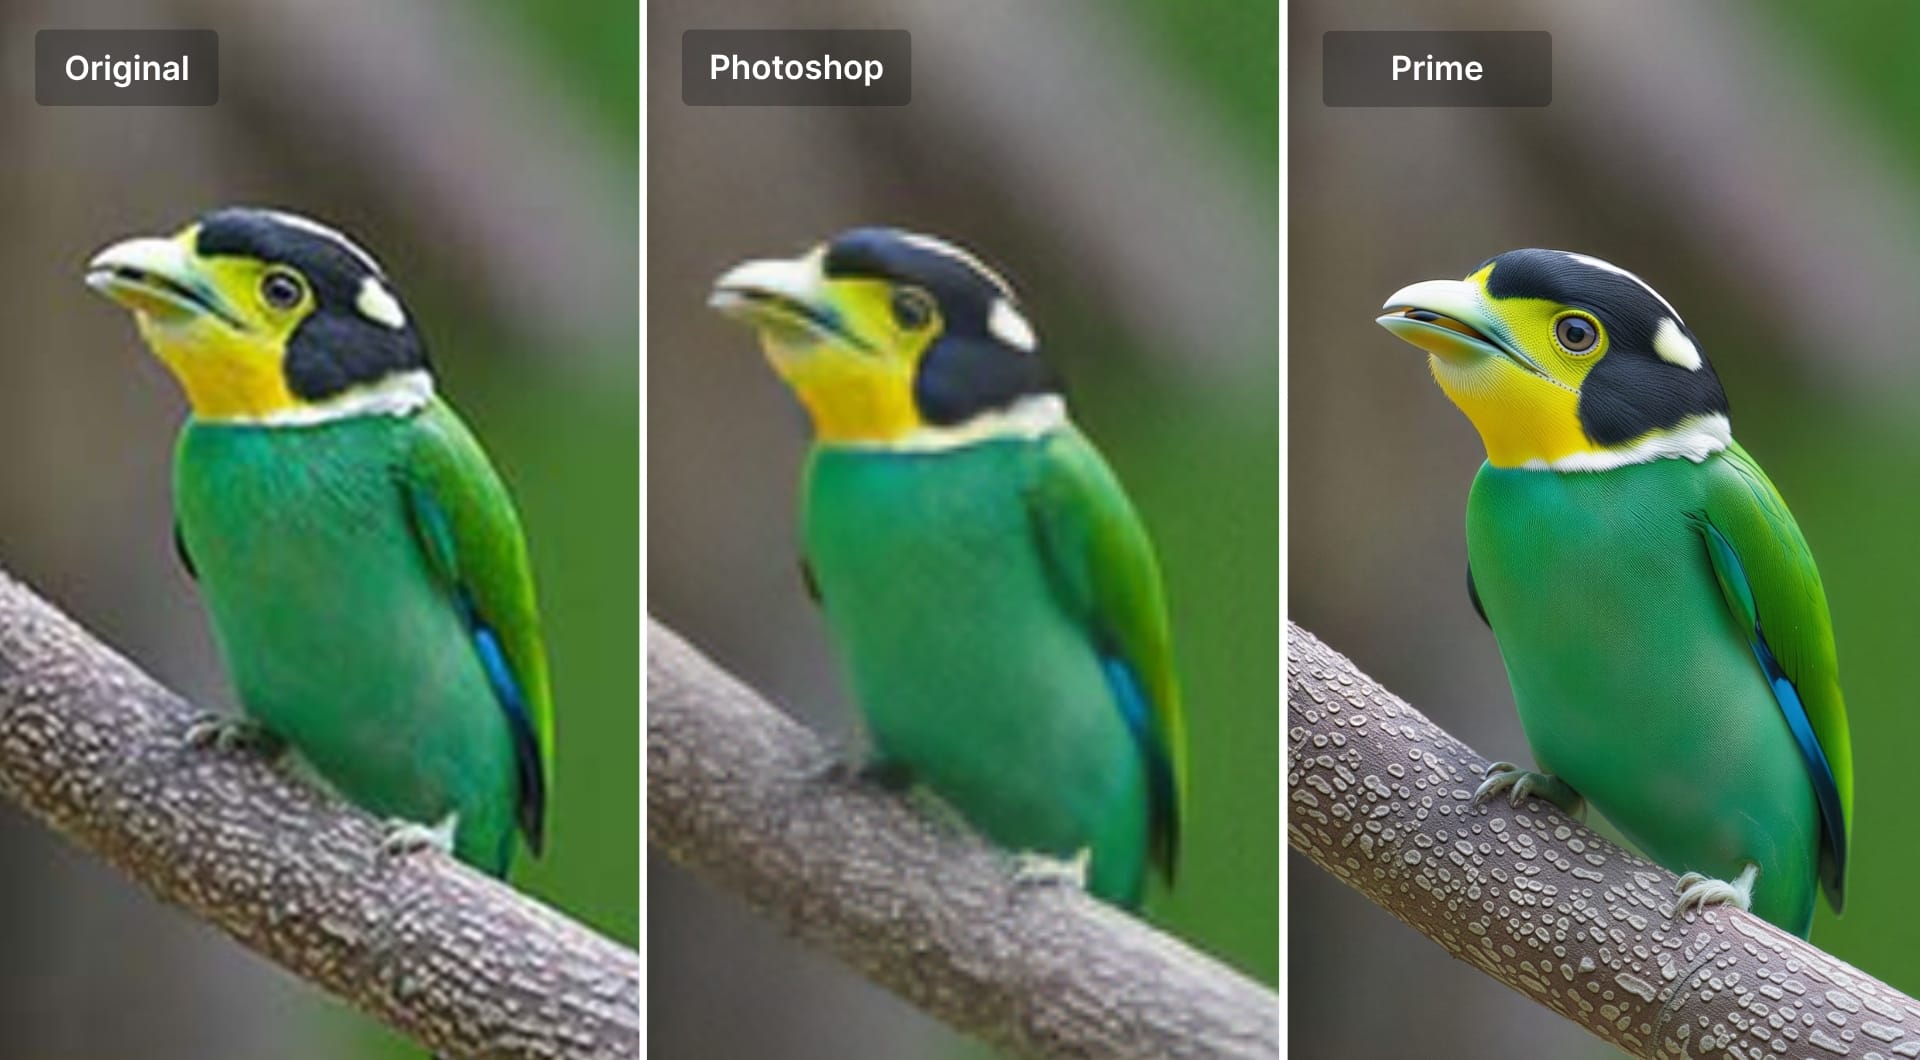
The Prime model brings back texture and micro-detail that gives a clean, high-resolution feel. Edges look defined, colors stay accurate, and fine structures regain their natural sharpness without looking artificial.
There’s also zero learning curve: upload, select a model, adjust settings if you wish, and let the AI do the rest. The whole process takes a few seconds.
Try it yourself
Looking to revive your JPEG images? Try LetsEnhance.io for free and see how our AI can restore the quality of your compressed images.
Sign up and get 10 free credits.
FAQ
Why does JPEG compression affect image quality?
Most JPEG compression is lossy, meaning it permanently removes image data to make files smaller. This process often discards fine details, causing blurriness or artifacts. Lossless compression keeps all visual quality intact, but if you use lossy compression, tools like LetsEnhance can help restore much of the lost detail.
Can LetsEnhance fix very low-resolution or heavily compressed images?
Yes, to a large extent. Even heavily compressed or small images can be upscaled and cleaned up with noticeable improvements in clarity and detail.
How can LetsEnhance help restore the quality of JPEG images?LetsEnhance is powered by a sophisticated AI algorithm that detects visual artifacts that commonly occur as a result of lossy compression and restores image quality by removing these visual glitches.
Is using AI better than traditional image restoration methods?
Yes. AI restoration tools like LetsEnhance outperform traditional methods by automatically detecting and rebuilding lost detail, sharpness, and texture. Traditional tools may require skill and time and not deliver the same quality.
How can I start restoring my JPEG images with LetsEnhance?
Simply create an account on LetsEnhance, upload your images to the dashboard, choose Prime upscaler, adjust the settings, click Enhance, wait a few seconds, and finally save it to your device. With a stable internet connection, the entire process should take less than 30 seconds.
Does LetsEnhance support batch restoration or API integration?
Yes. For professional workflows, the Claid API by LetsEnhance offers batch image processing that integrates directly into creative or e-commerce pipelines.
